3D Printing Holders for my Ultrasonic Cleaner
Problem
I bought myself a resin 3D printer (the Uniformation GKTwo) both for hobby and hopefully for commercial printing. I also have a previously purchased Crest ultrasonic cleaner (P500H). When I print 3D parts the LCD cures each layer in a specific pattern, however, when removing it from the printer it will have residual uncured resin all over the model. I initially wash this in isopropyl alcohol, however, that won’t get all the resin. To do a deep clean I put the printed model in the ultrasonic cleaner and do a deep clean in mineral spirits.
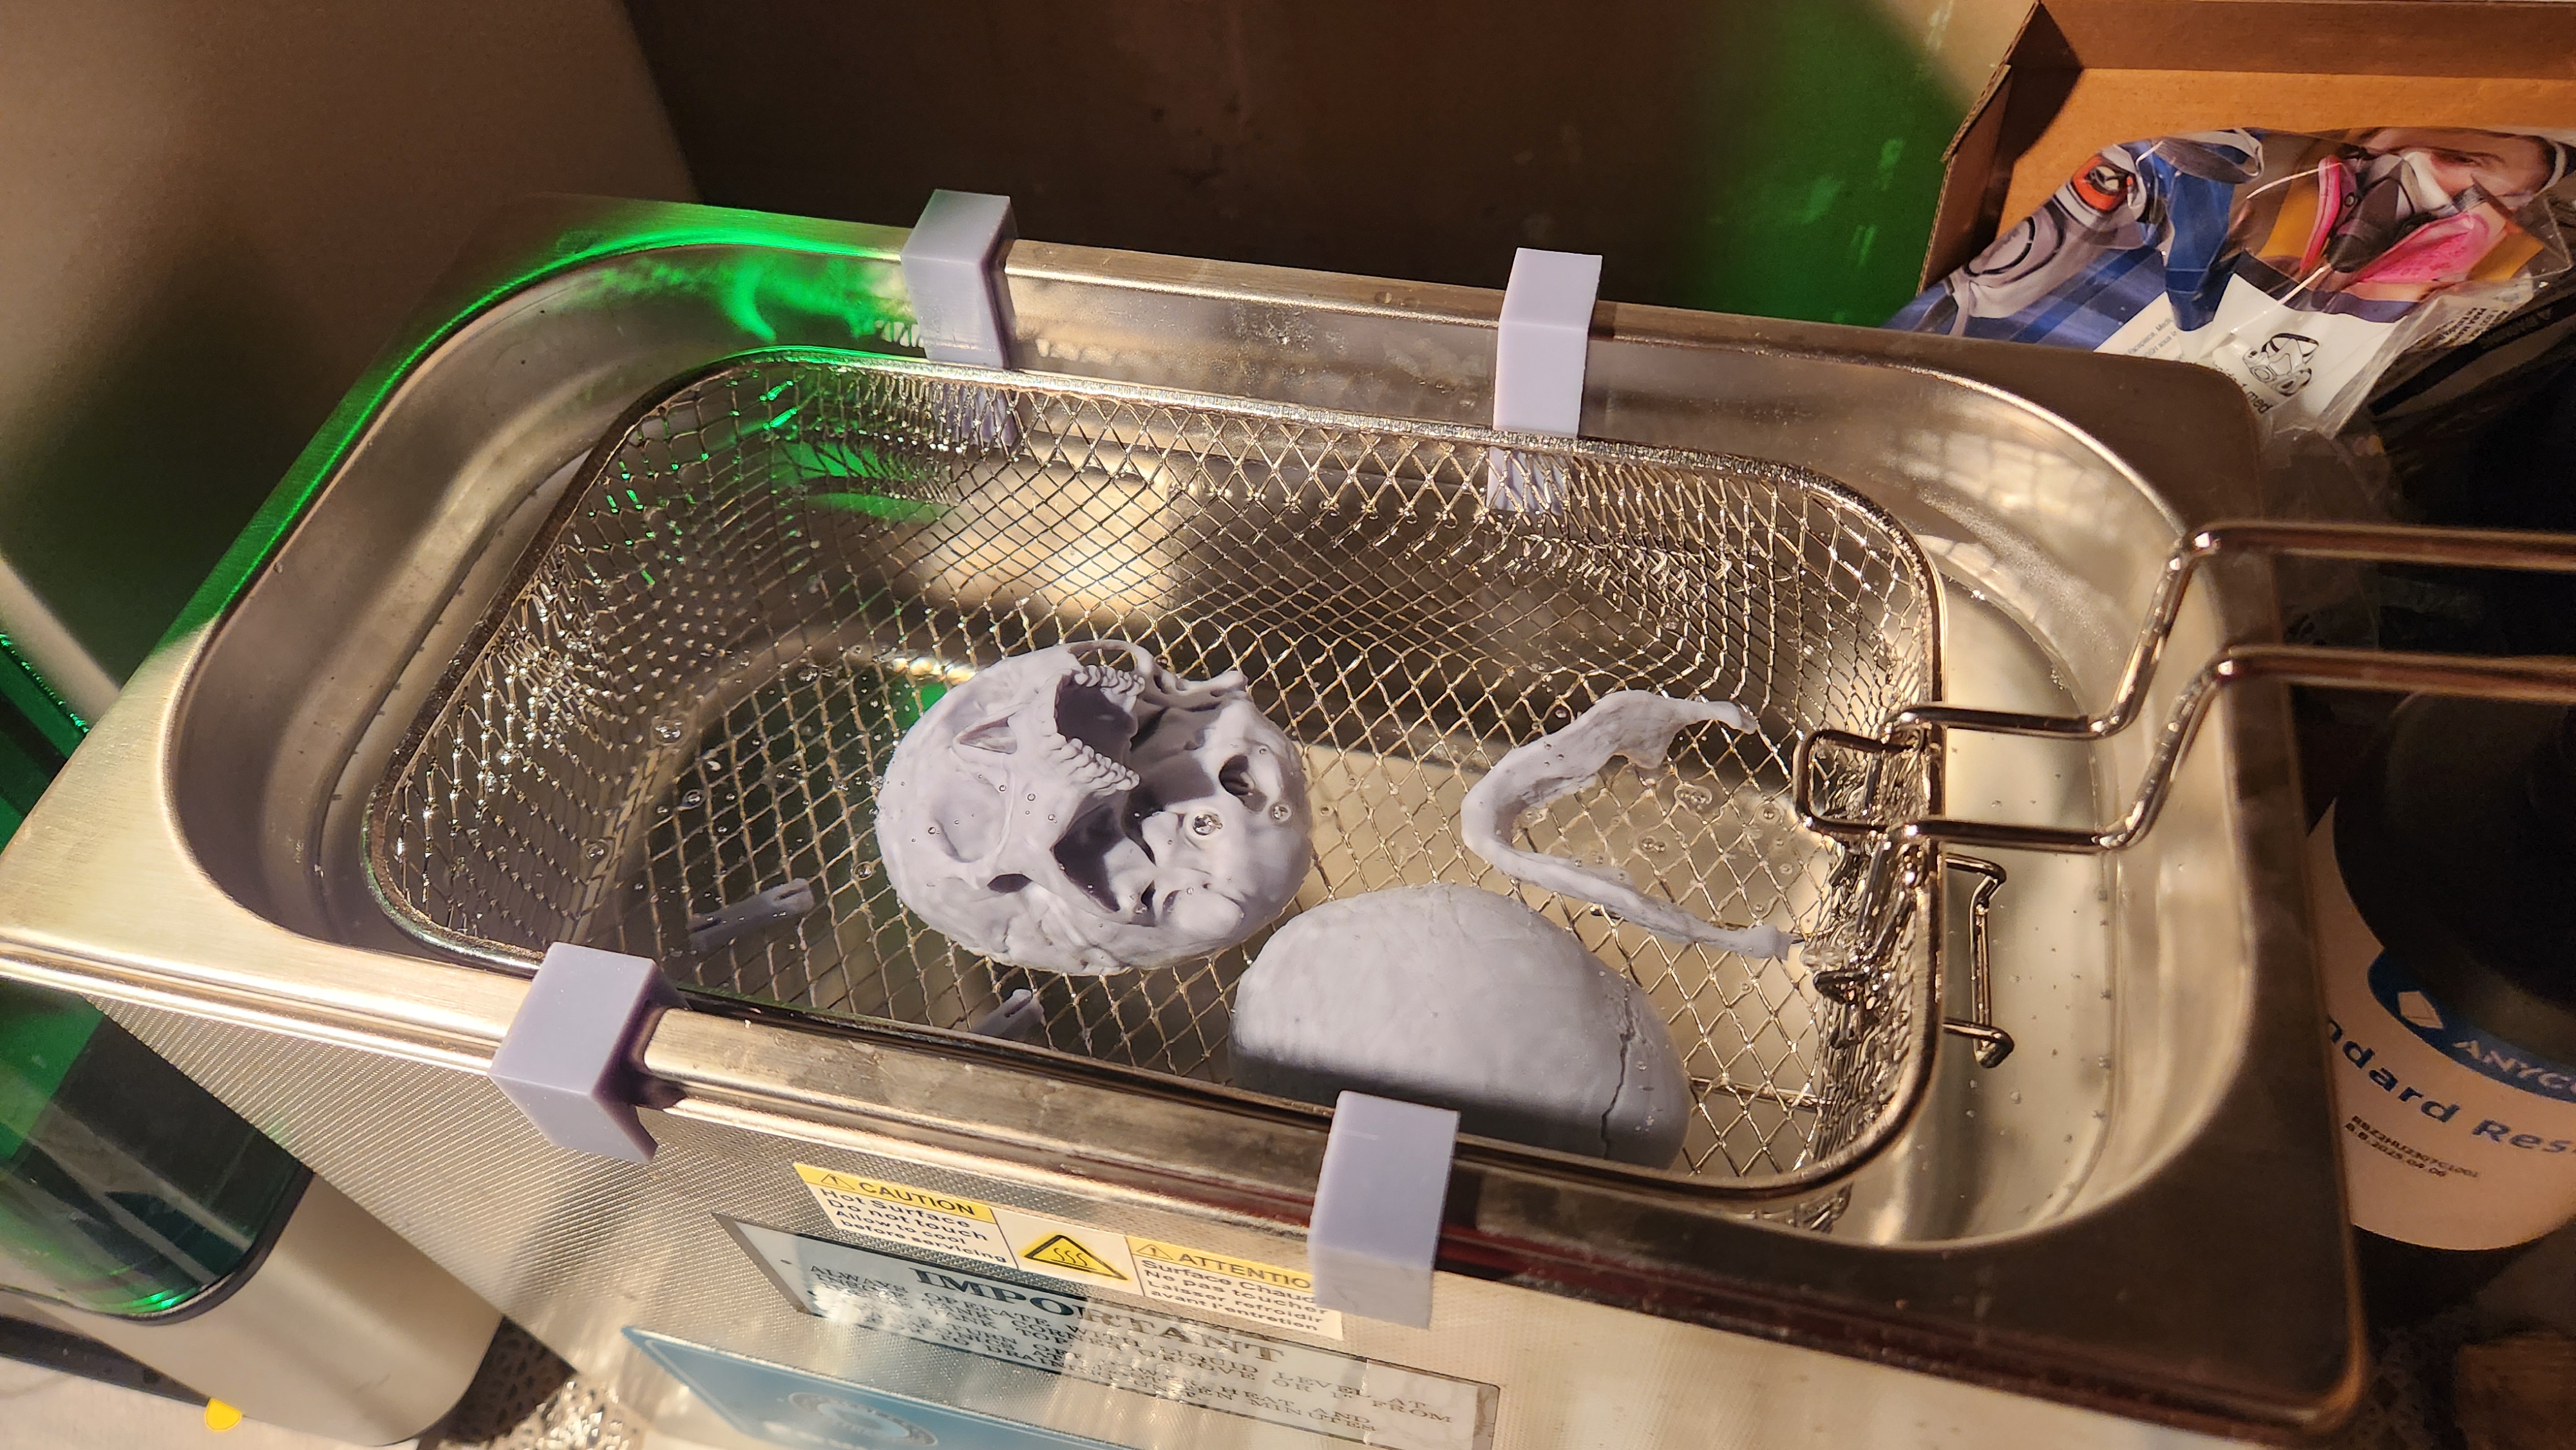
The issue I have is that the parts should not be touching the walls of the ultrasonic cleaner. Any pressure on the walls can cause it to perform poorly. I also read somewhere that it could be damaging to the cleaner itself. So I needed a solution. My girlfriend suggested getting a mesh basket similar to what fast food restaurants use for making french fries. I measure the dimensions and bought one for cheap.
I now have something to put the models in but I still need to make sure the basket itself doesn’t touch the sides.
I figured I’d use my new hammer (the 3D printer) to hammer down this nail.
Solution
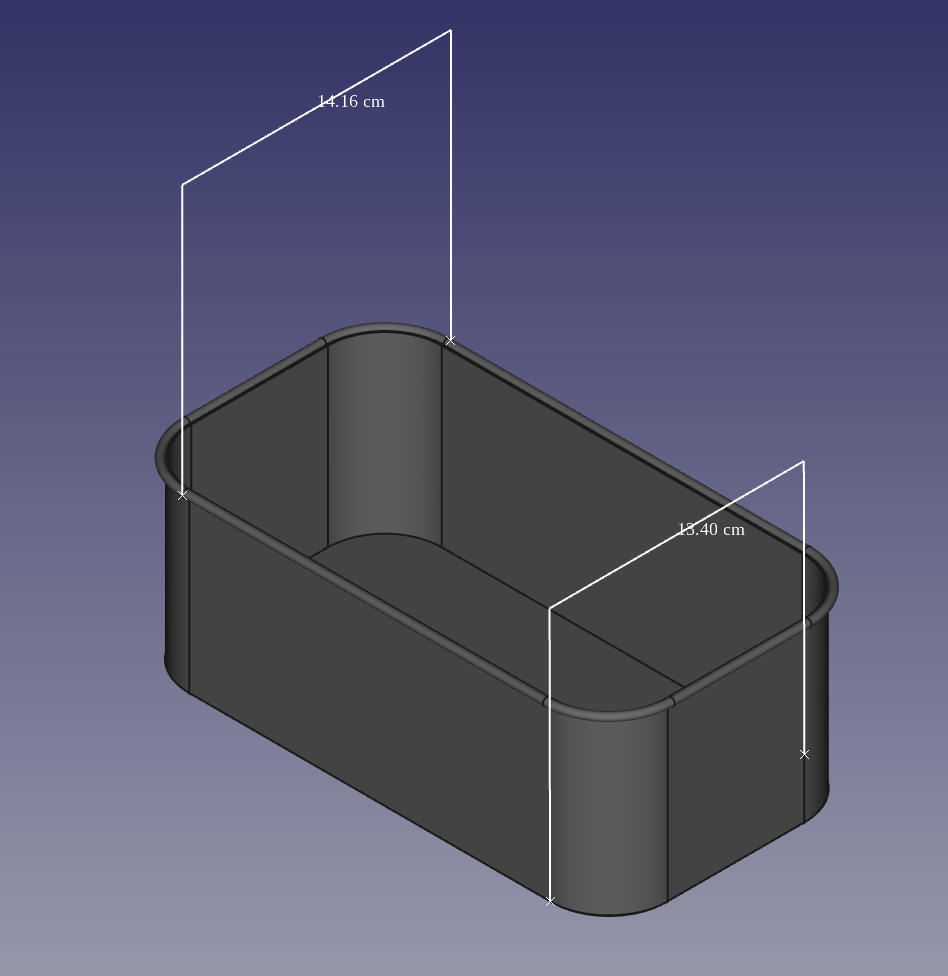
As part of the approach to the solution, I decided to learn how to use FreeCAD and model both my ultrasonic cleaner and the basket. This turned out to be nothing more than an exercise to teach me the program as I didn’t end up using either in my solution part. You can see some screenshots of the ultrasonic cleaner and the basket parts below.
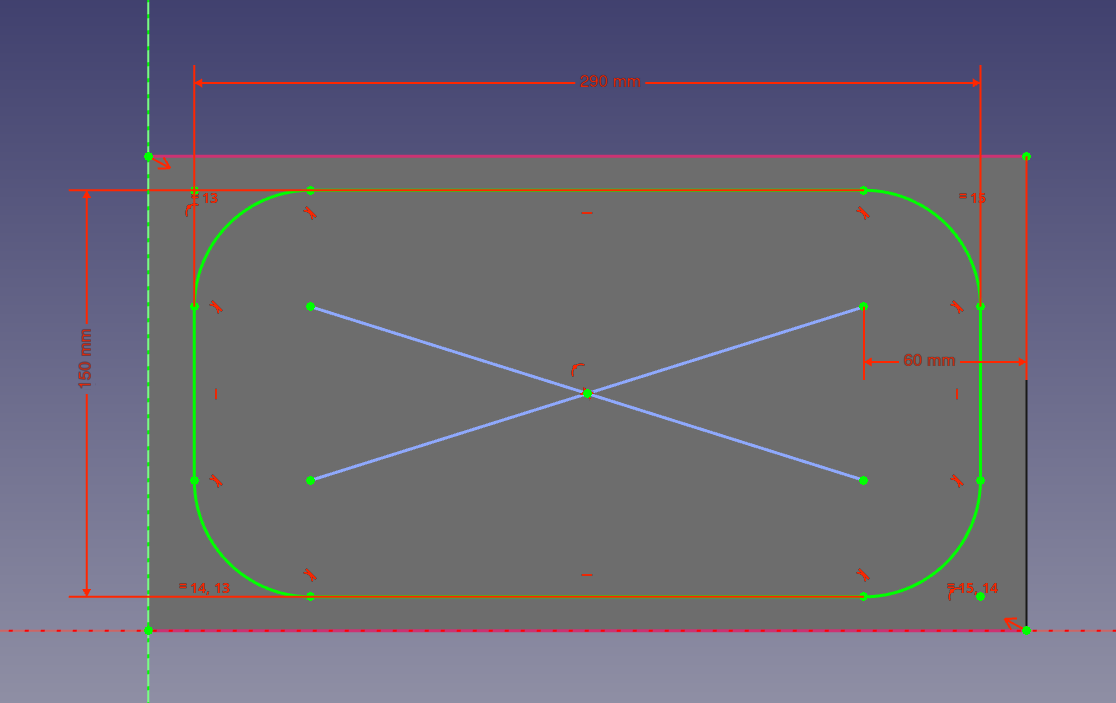
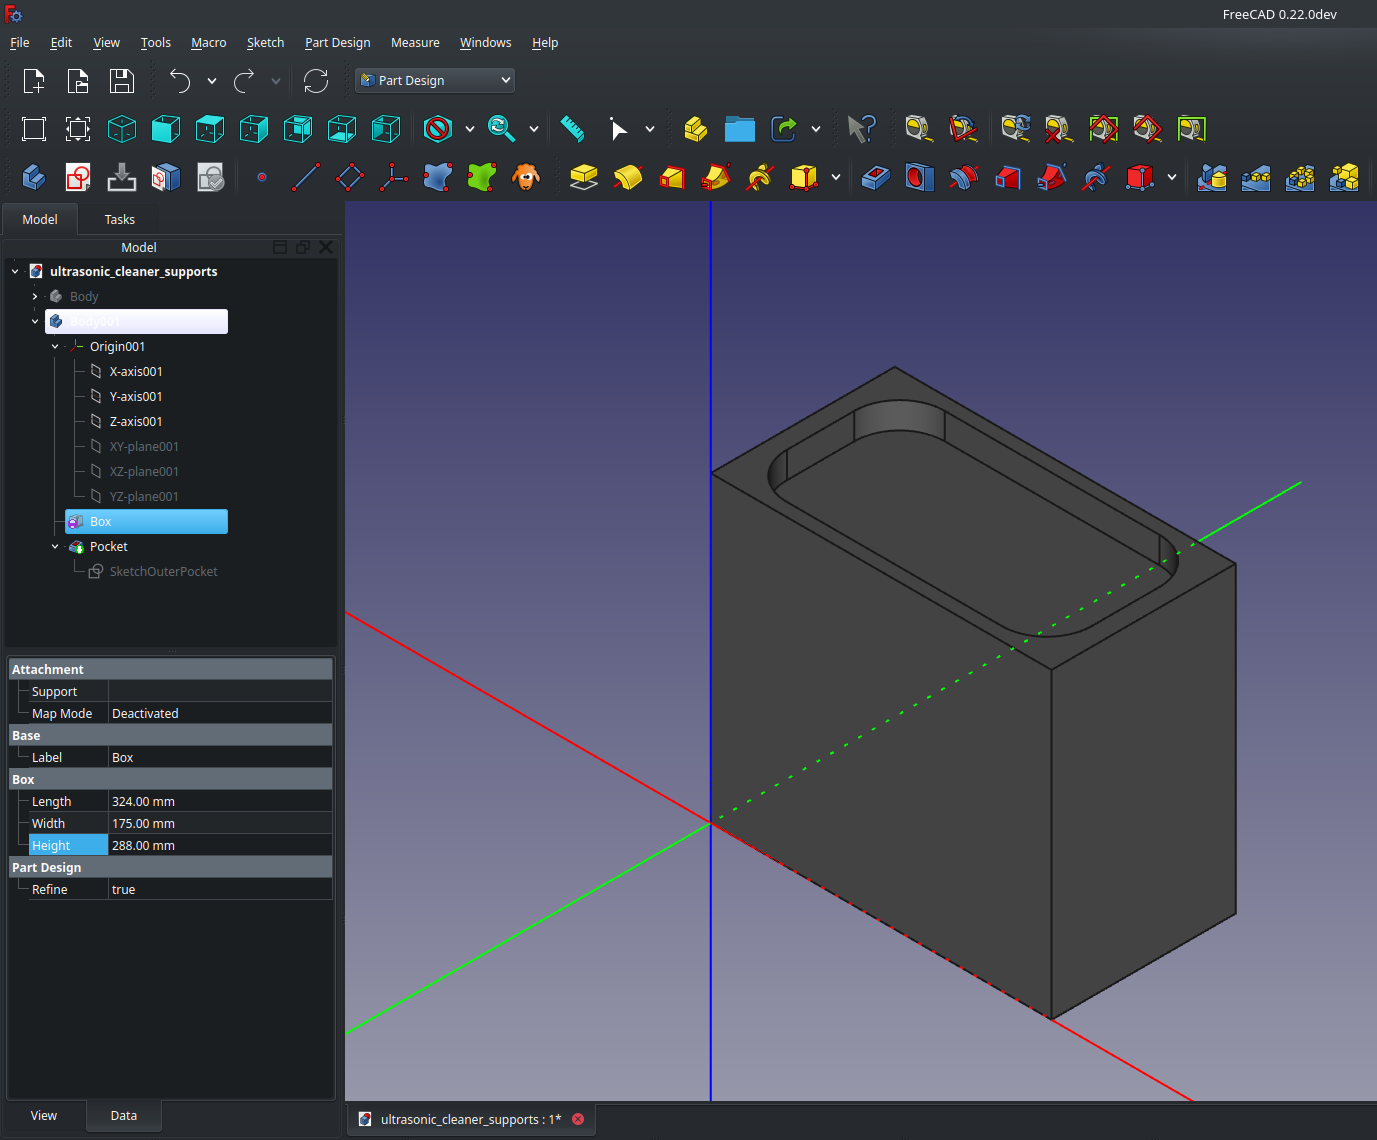
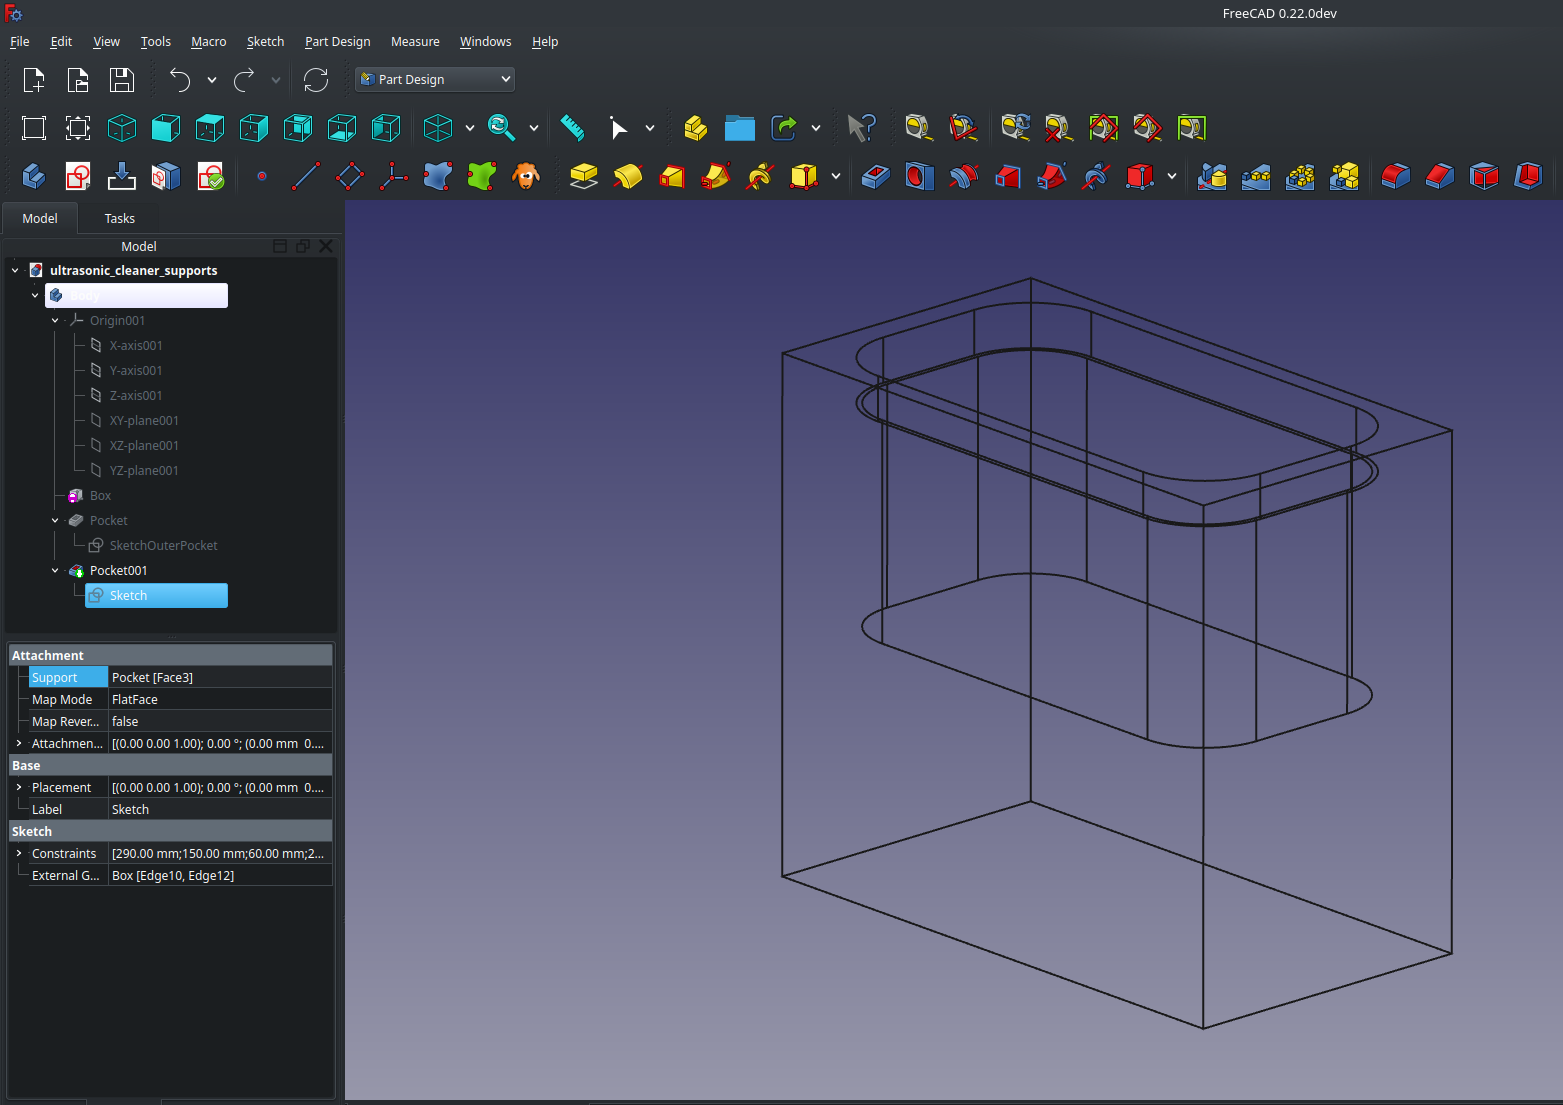
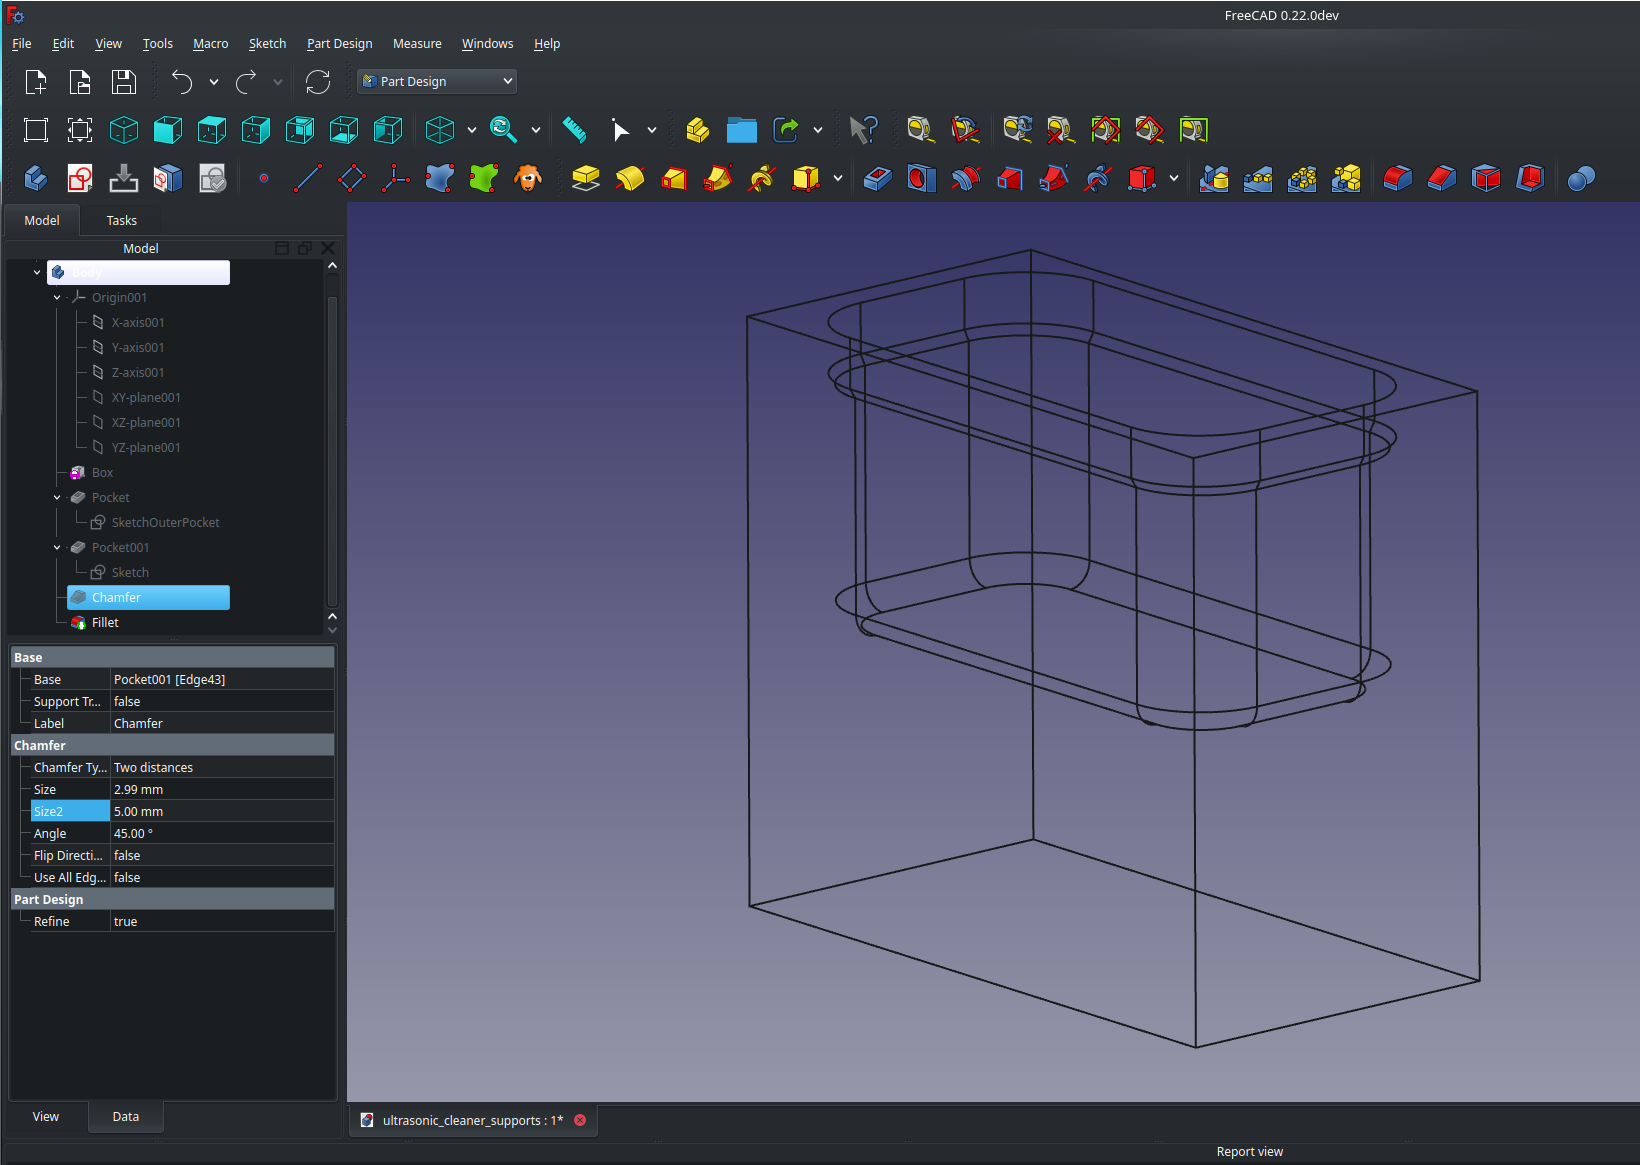


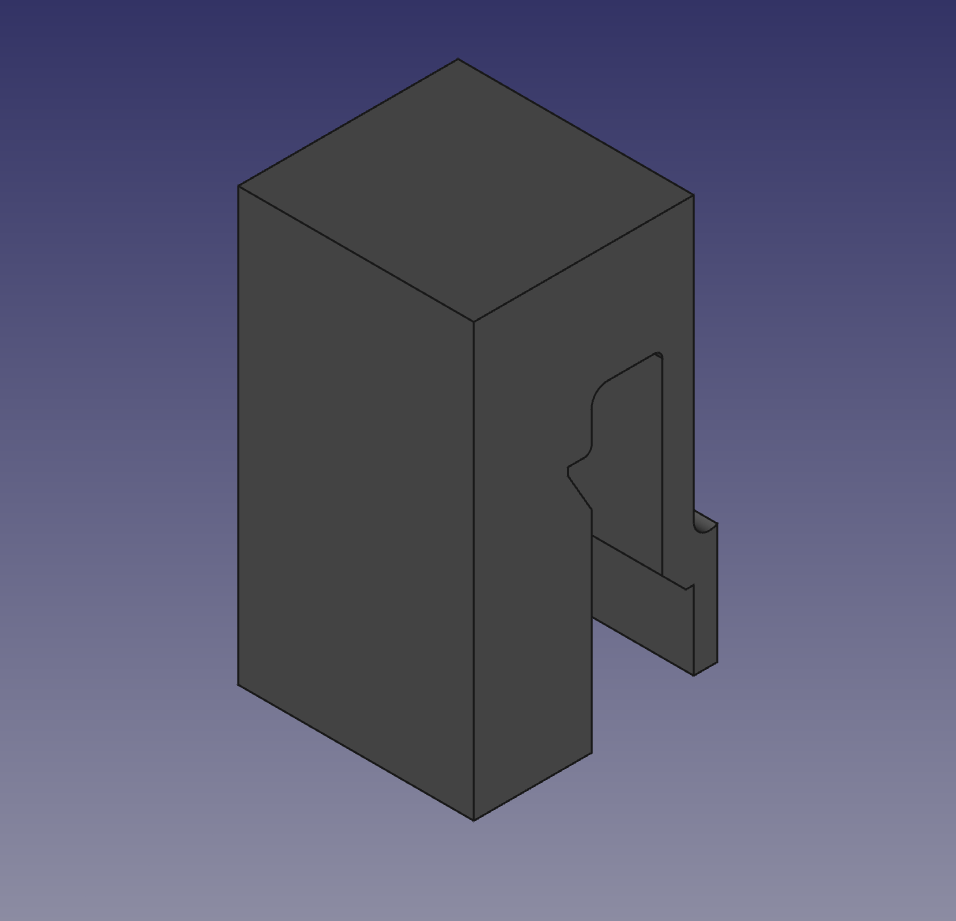
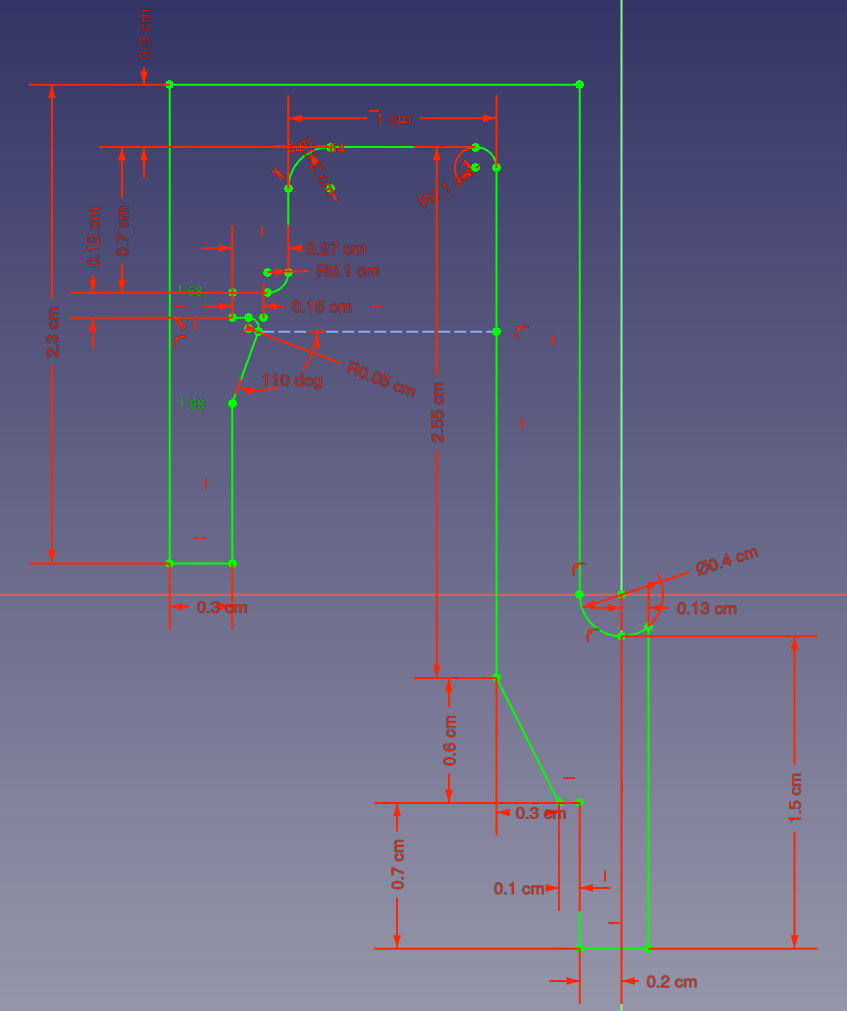
I then proceeded to create a sketch for my part. The main idea was to create four clips that will hug the top of the ultrasonic cleaner and provide a place for my basket to rest without touching the interior walls of the ultrasonic cleaner. The ultrasonic cleaner has a groove in the interior to mark the maximum solution height. I decided to use this groove as a support point for my part. Anything below this groove doesn’t touch the walls.
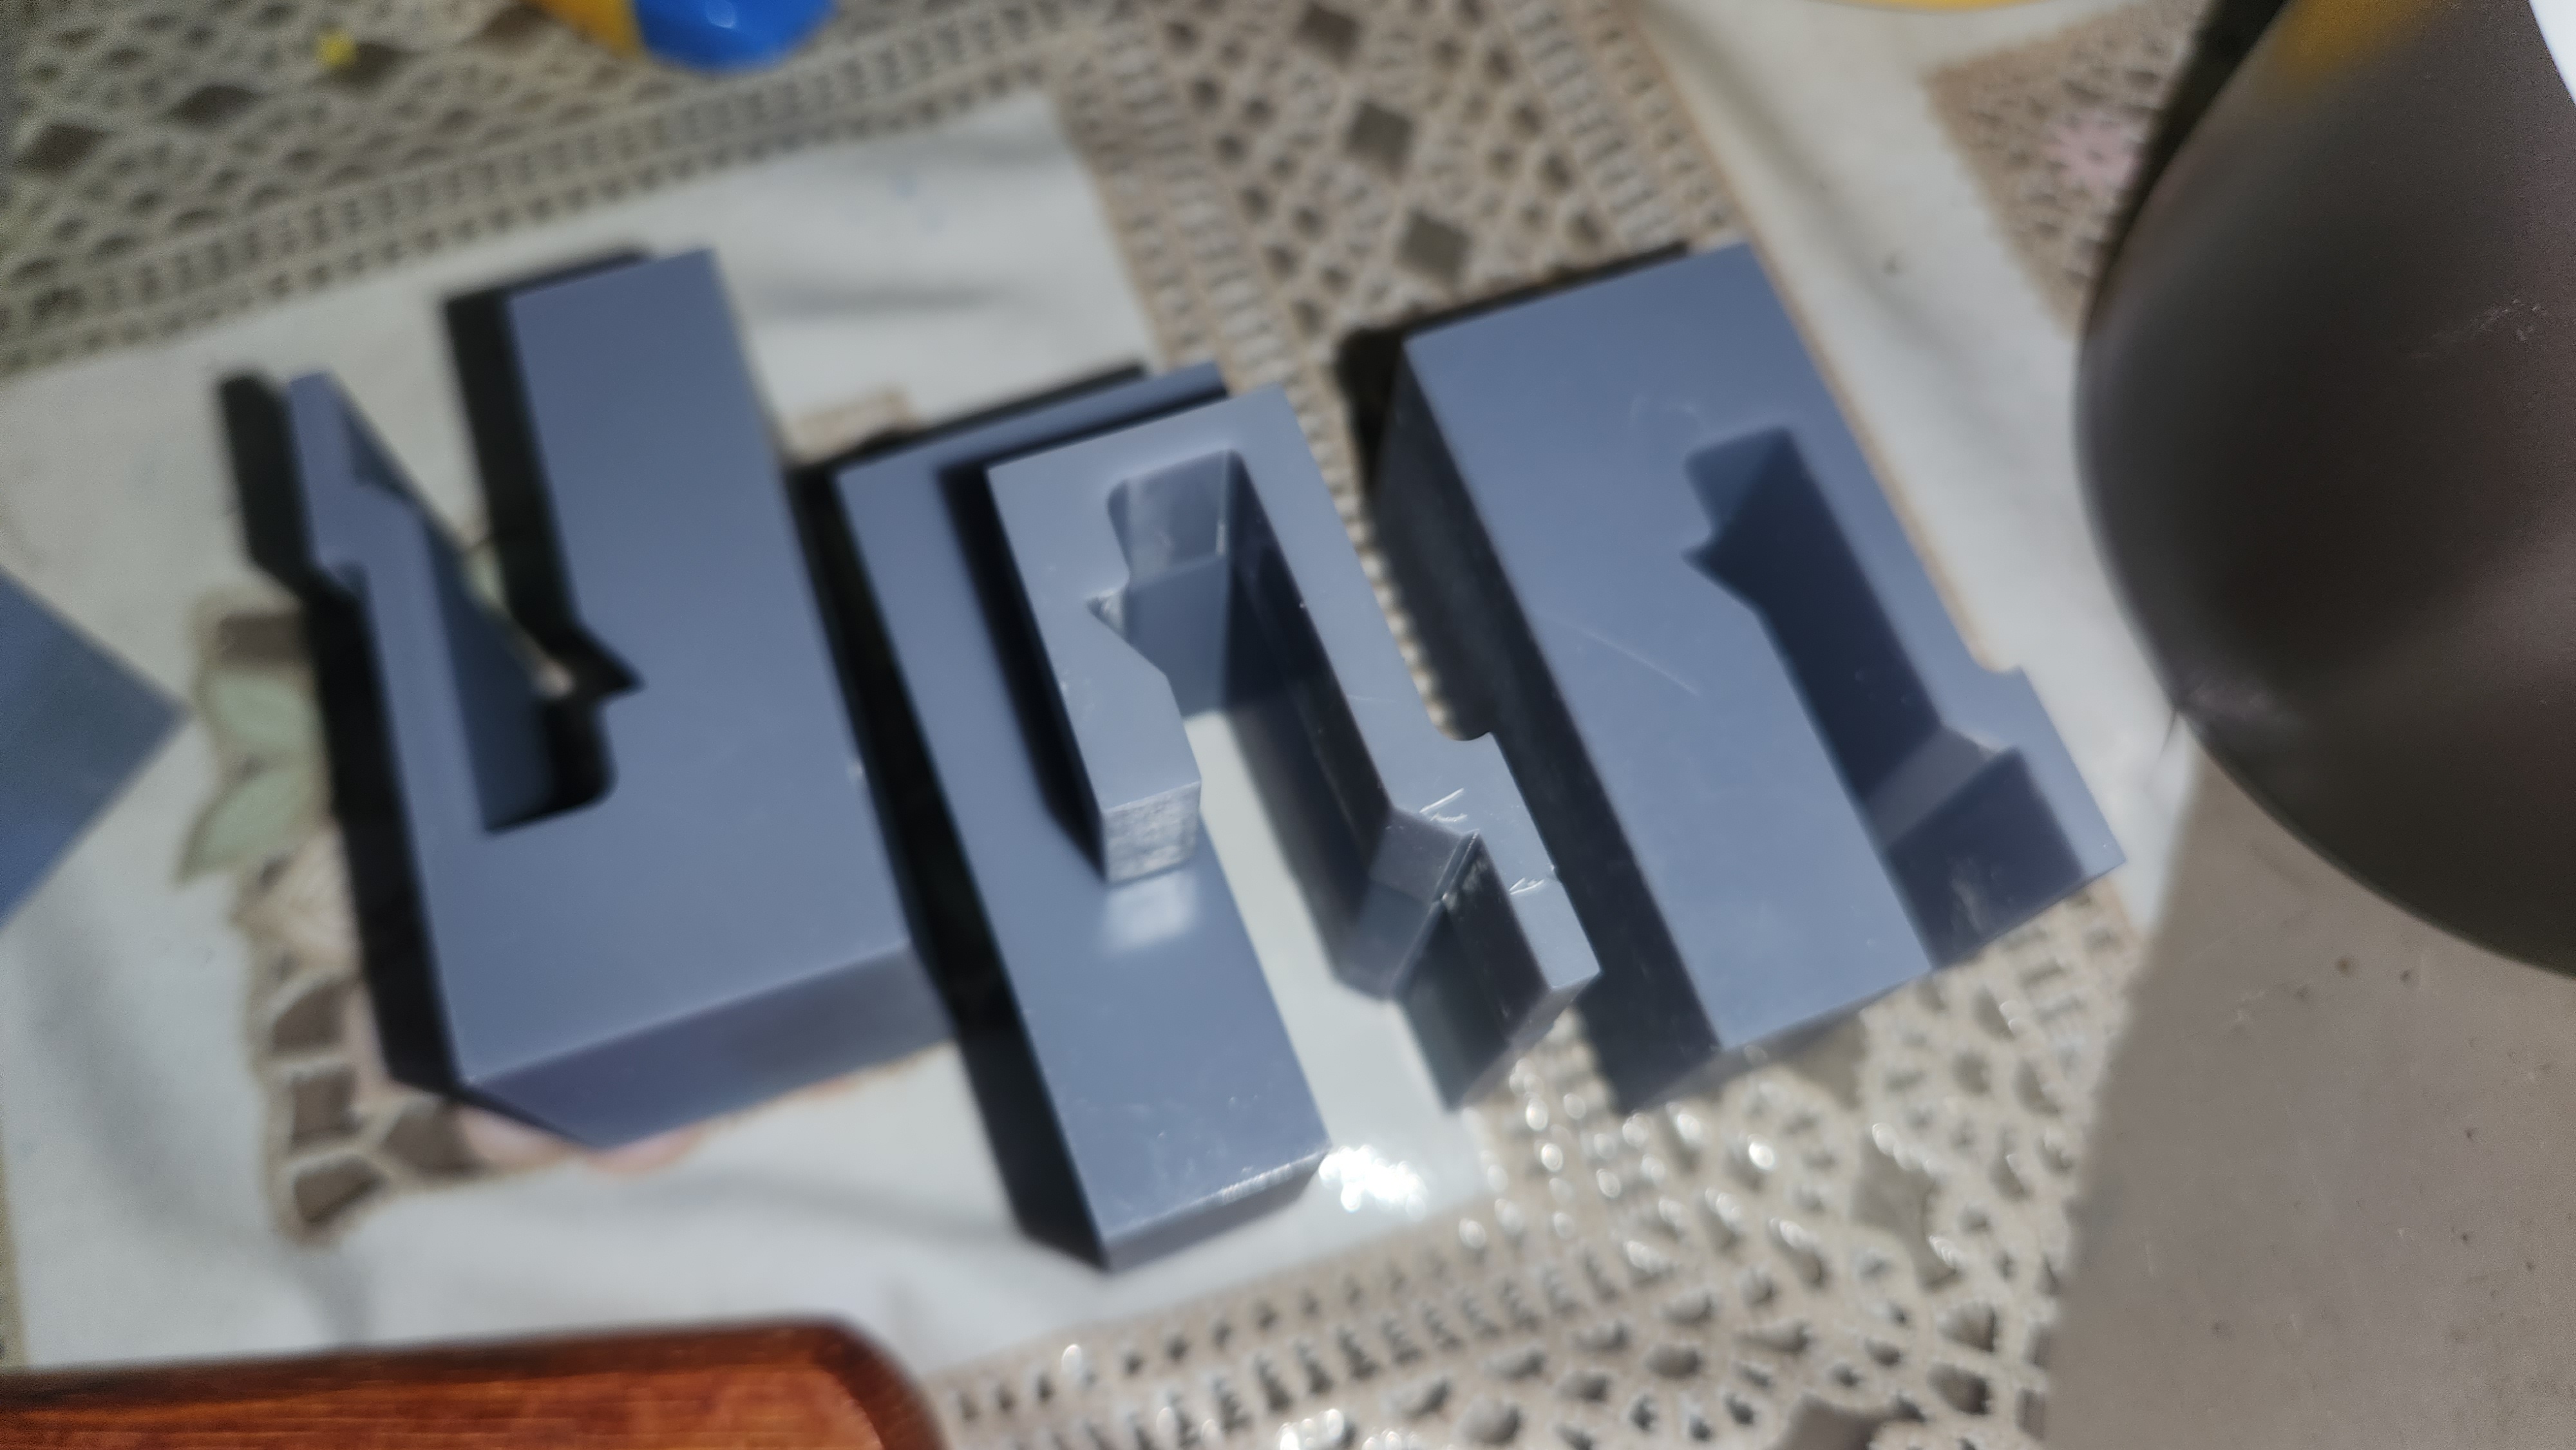
You can see the sketch of the part in the first image below. I was so confident that it would immediately work that I decided to print all four parts together. This ended up being a waste of resin, but live and learn! After each print I scraped the prints off into an isopropyl bath and then cured them in the direct sunlight for about 10 minutes per side.

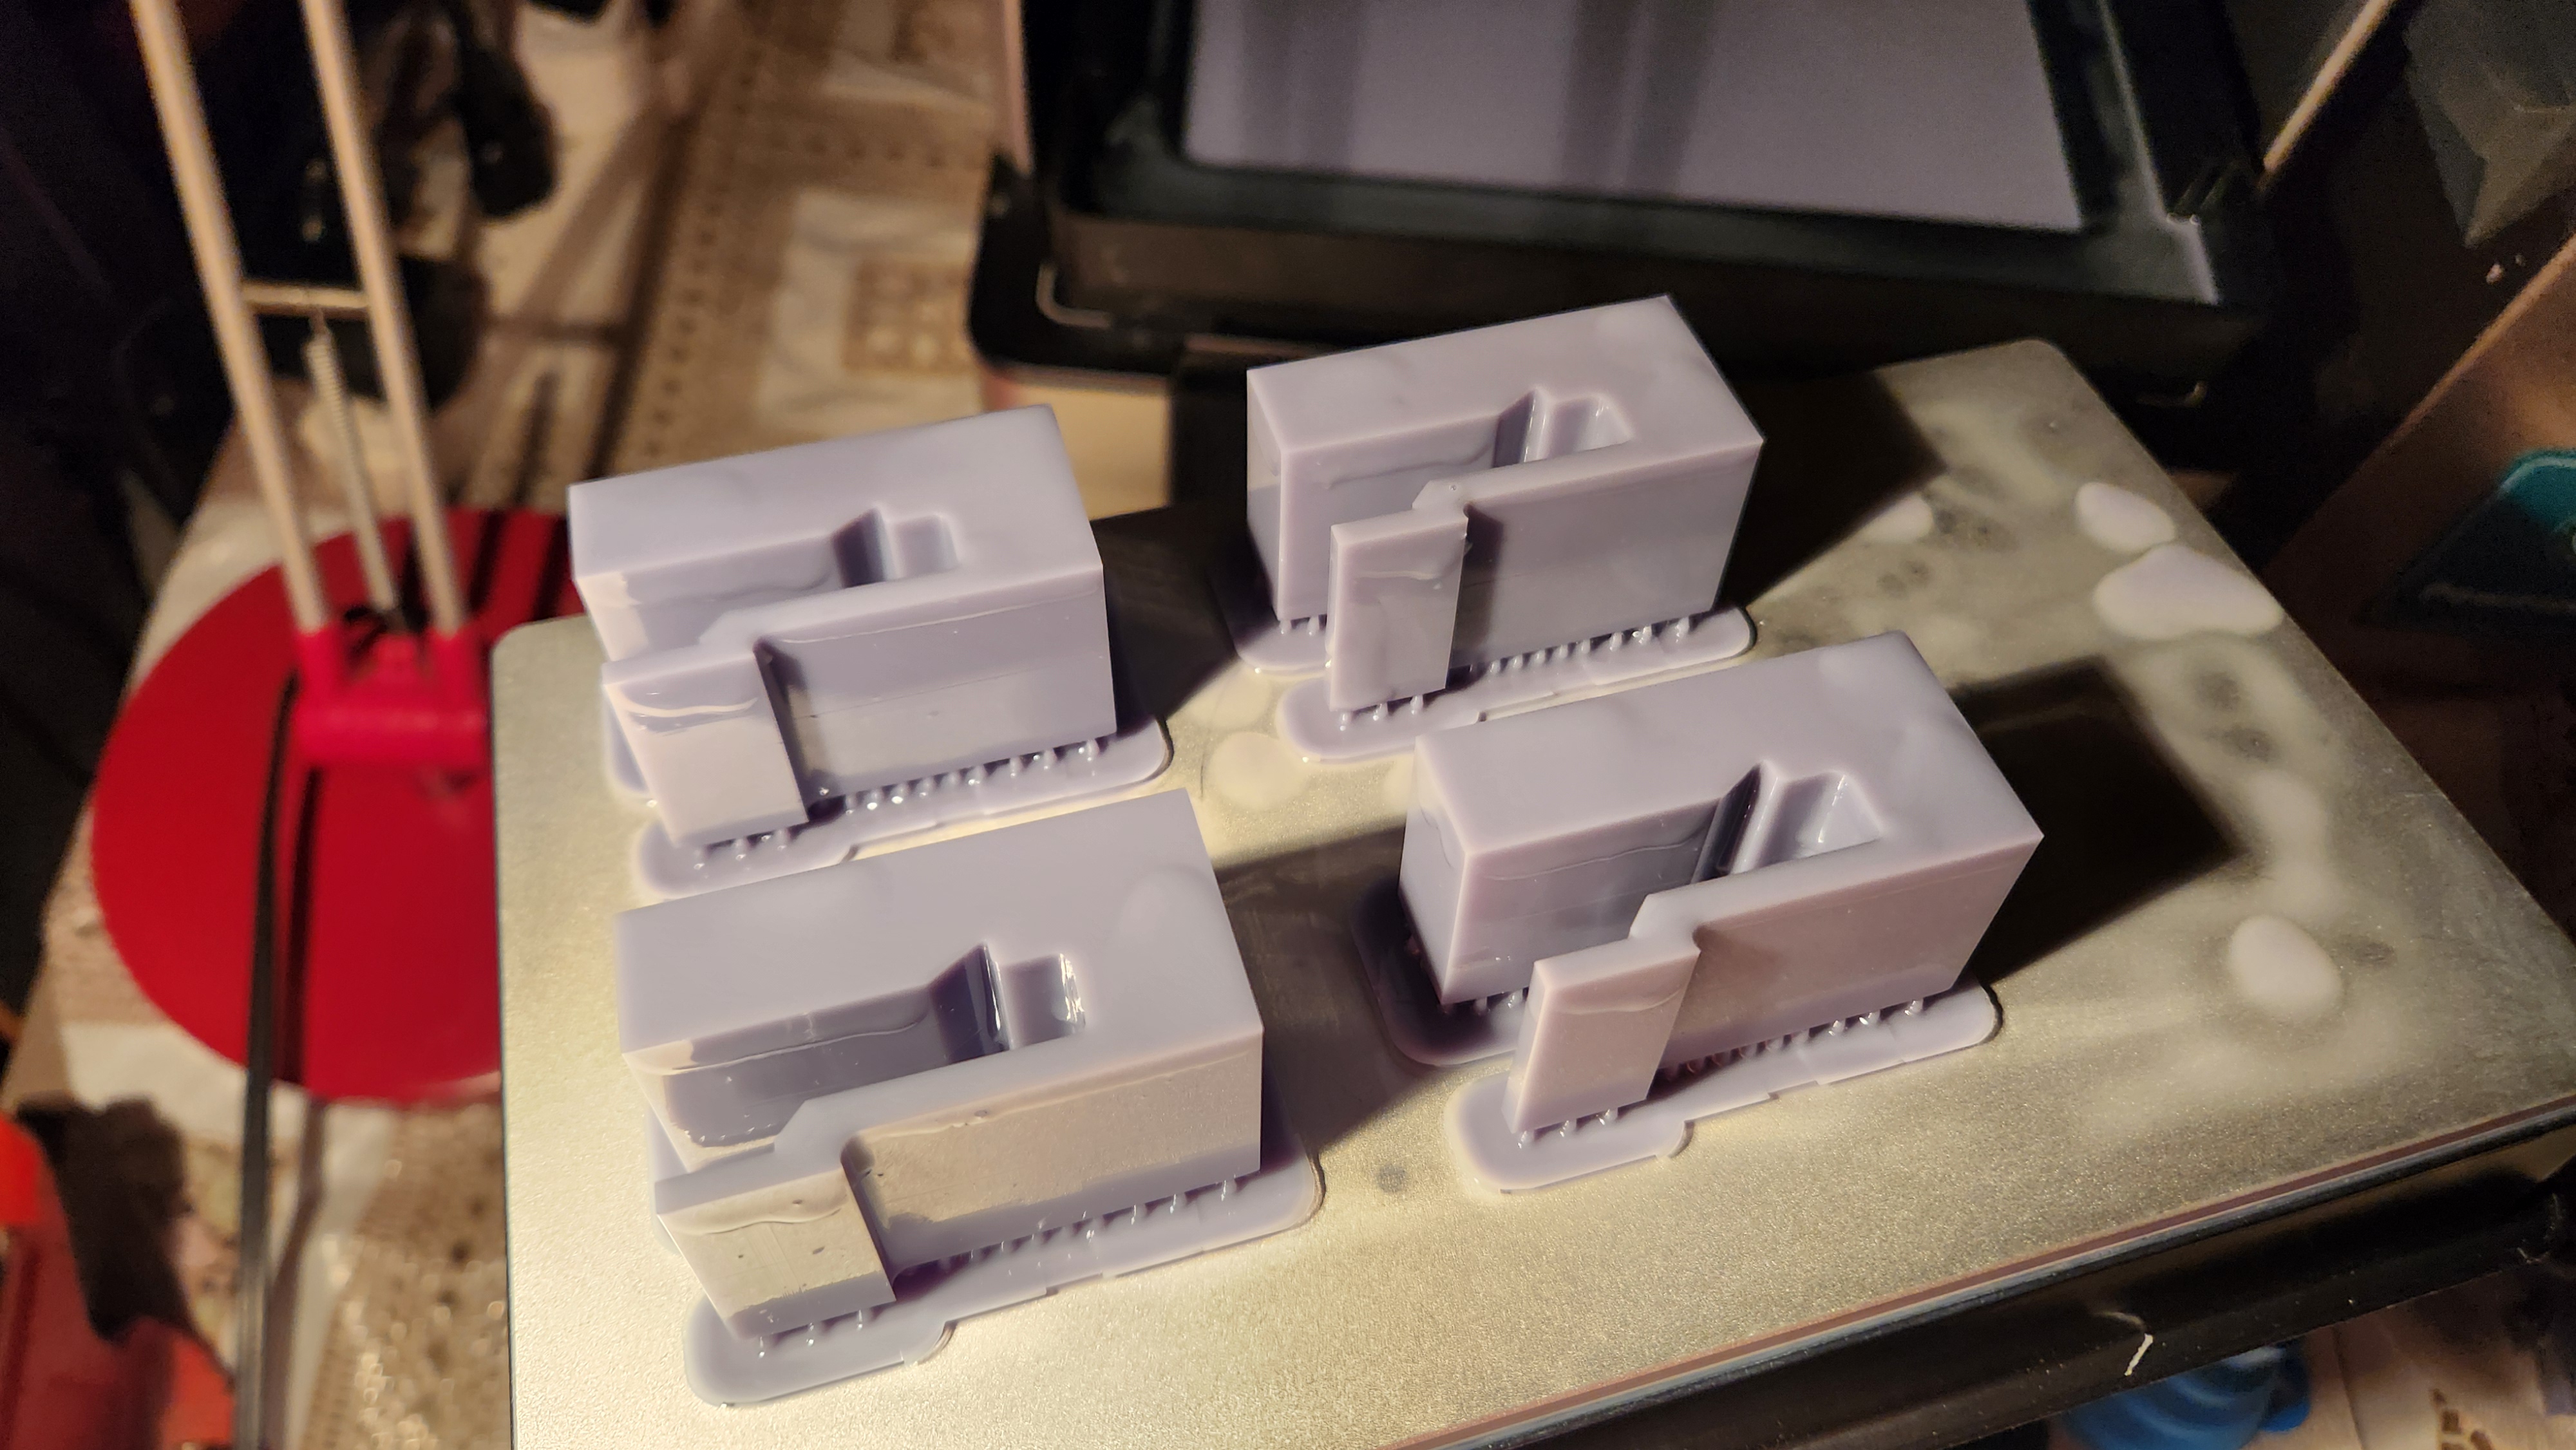
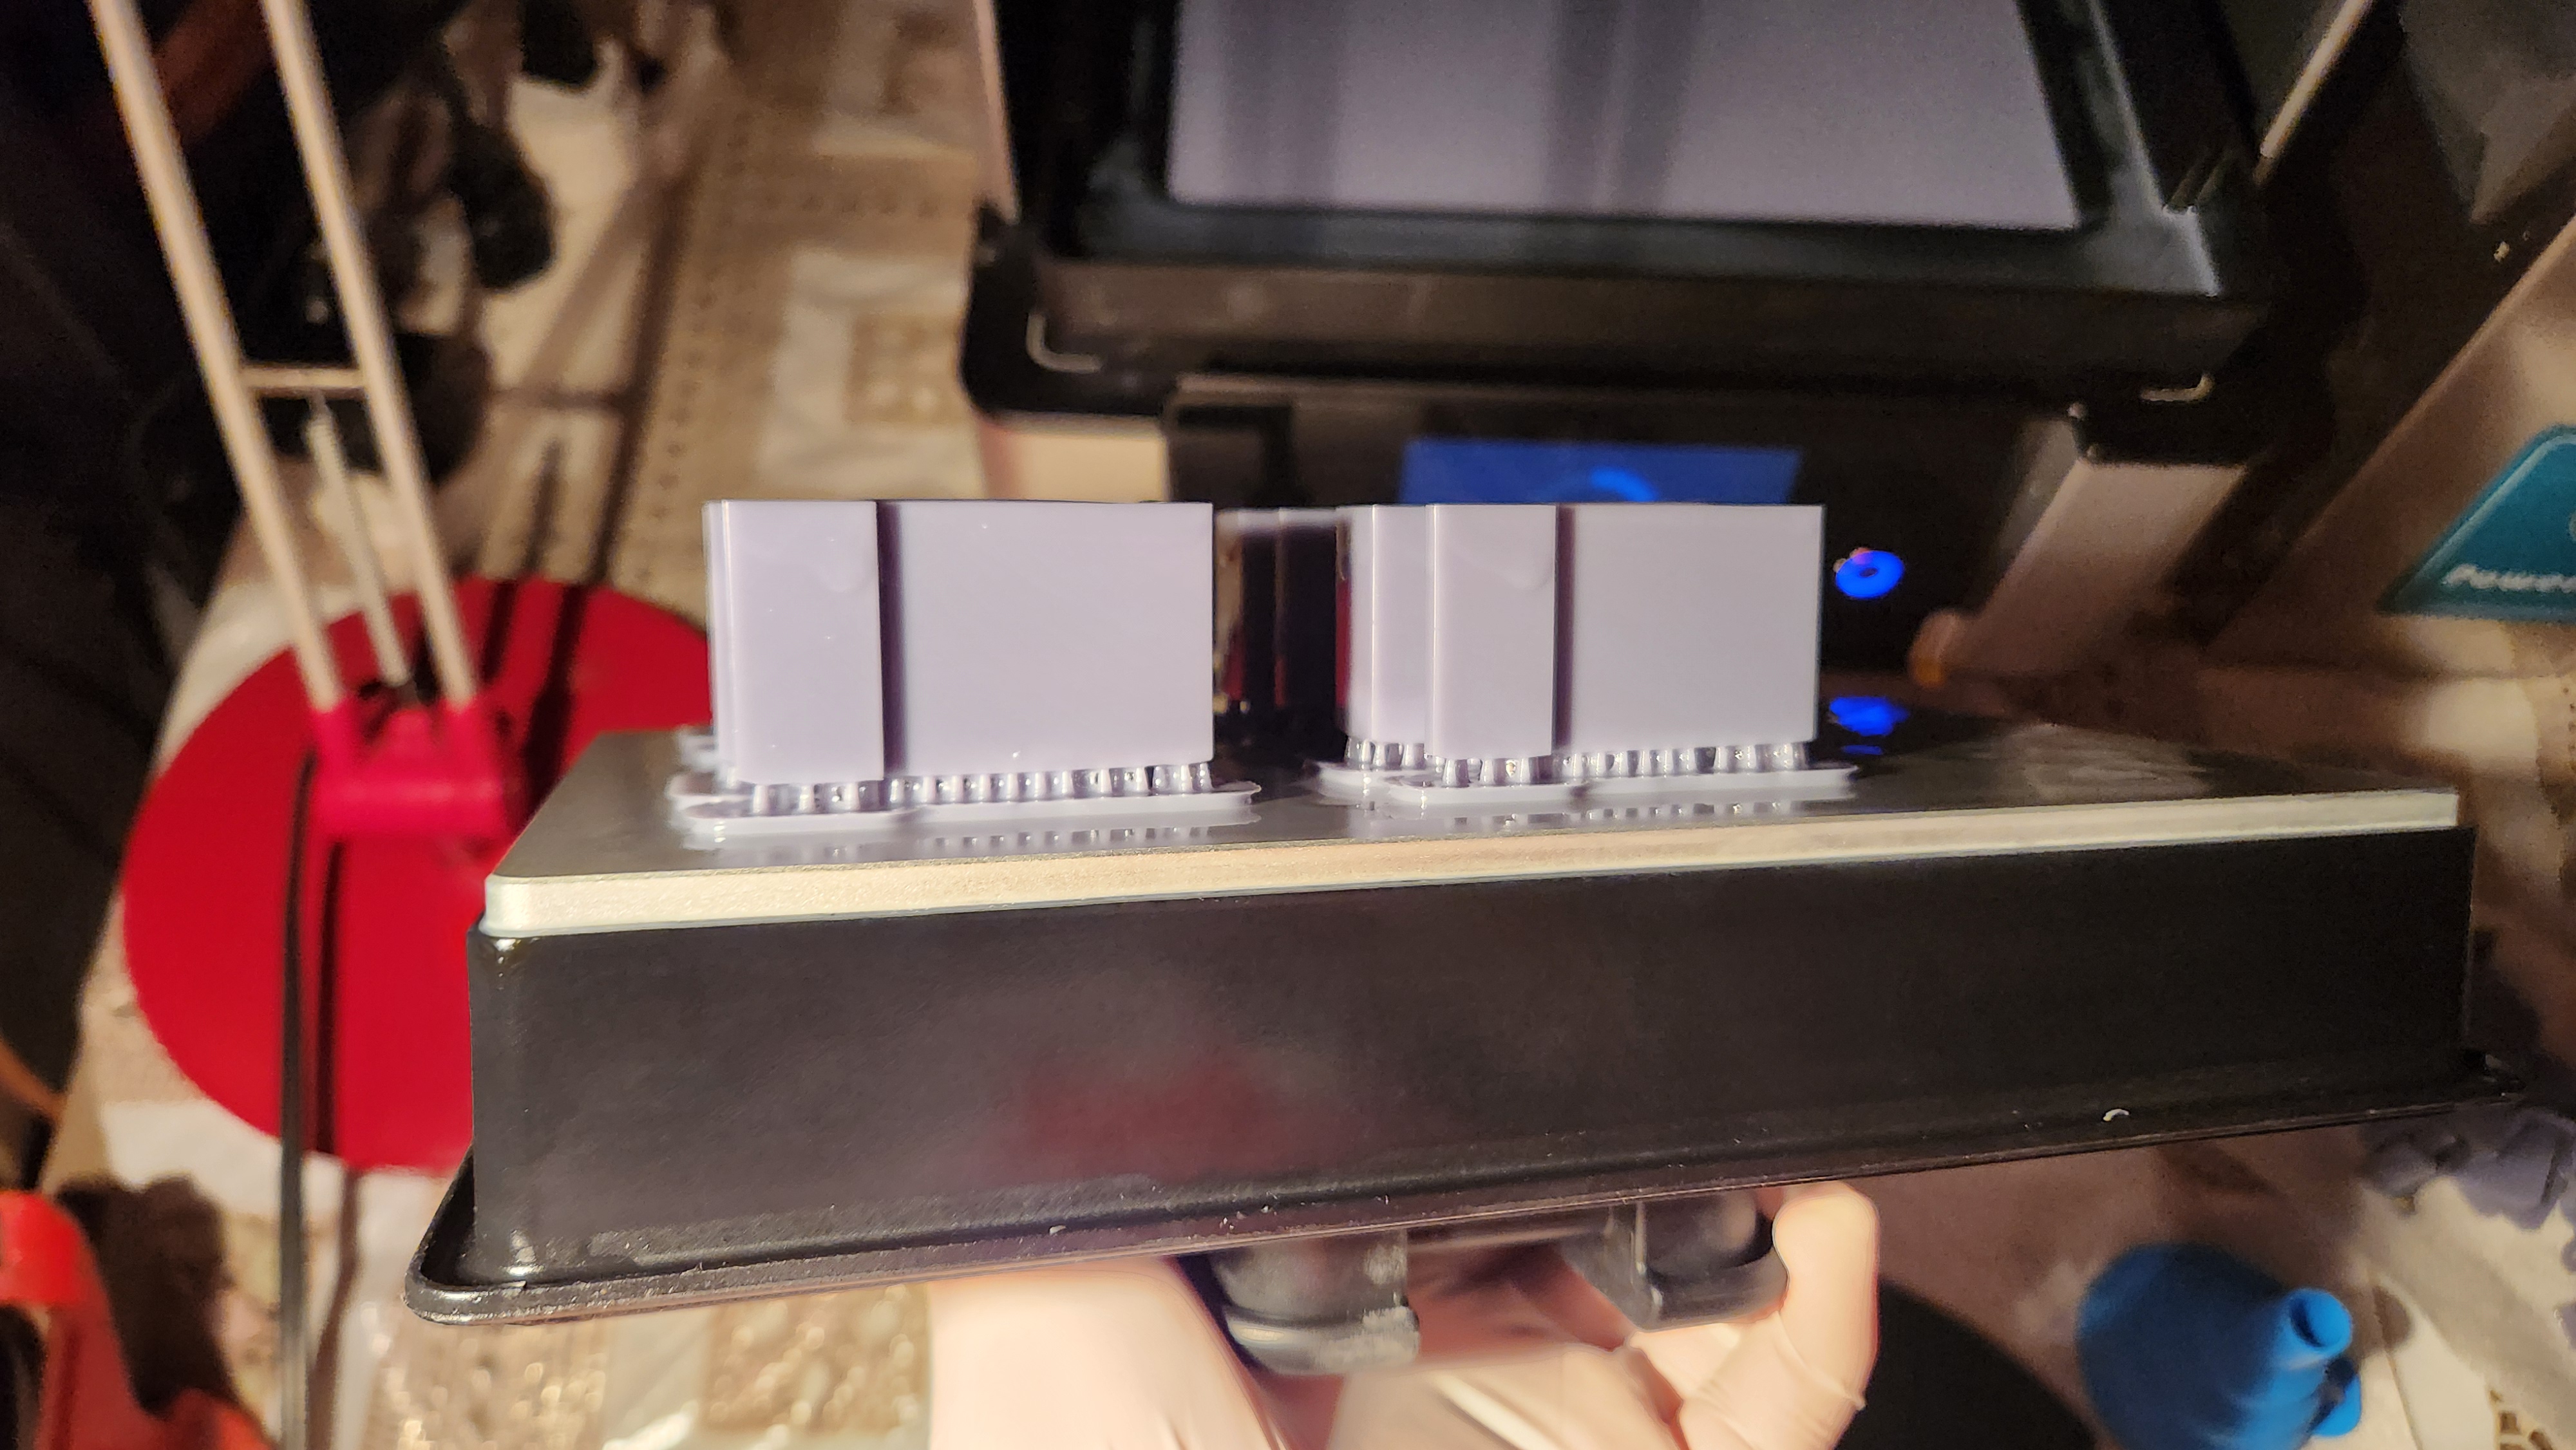
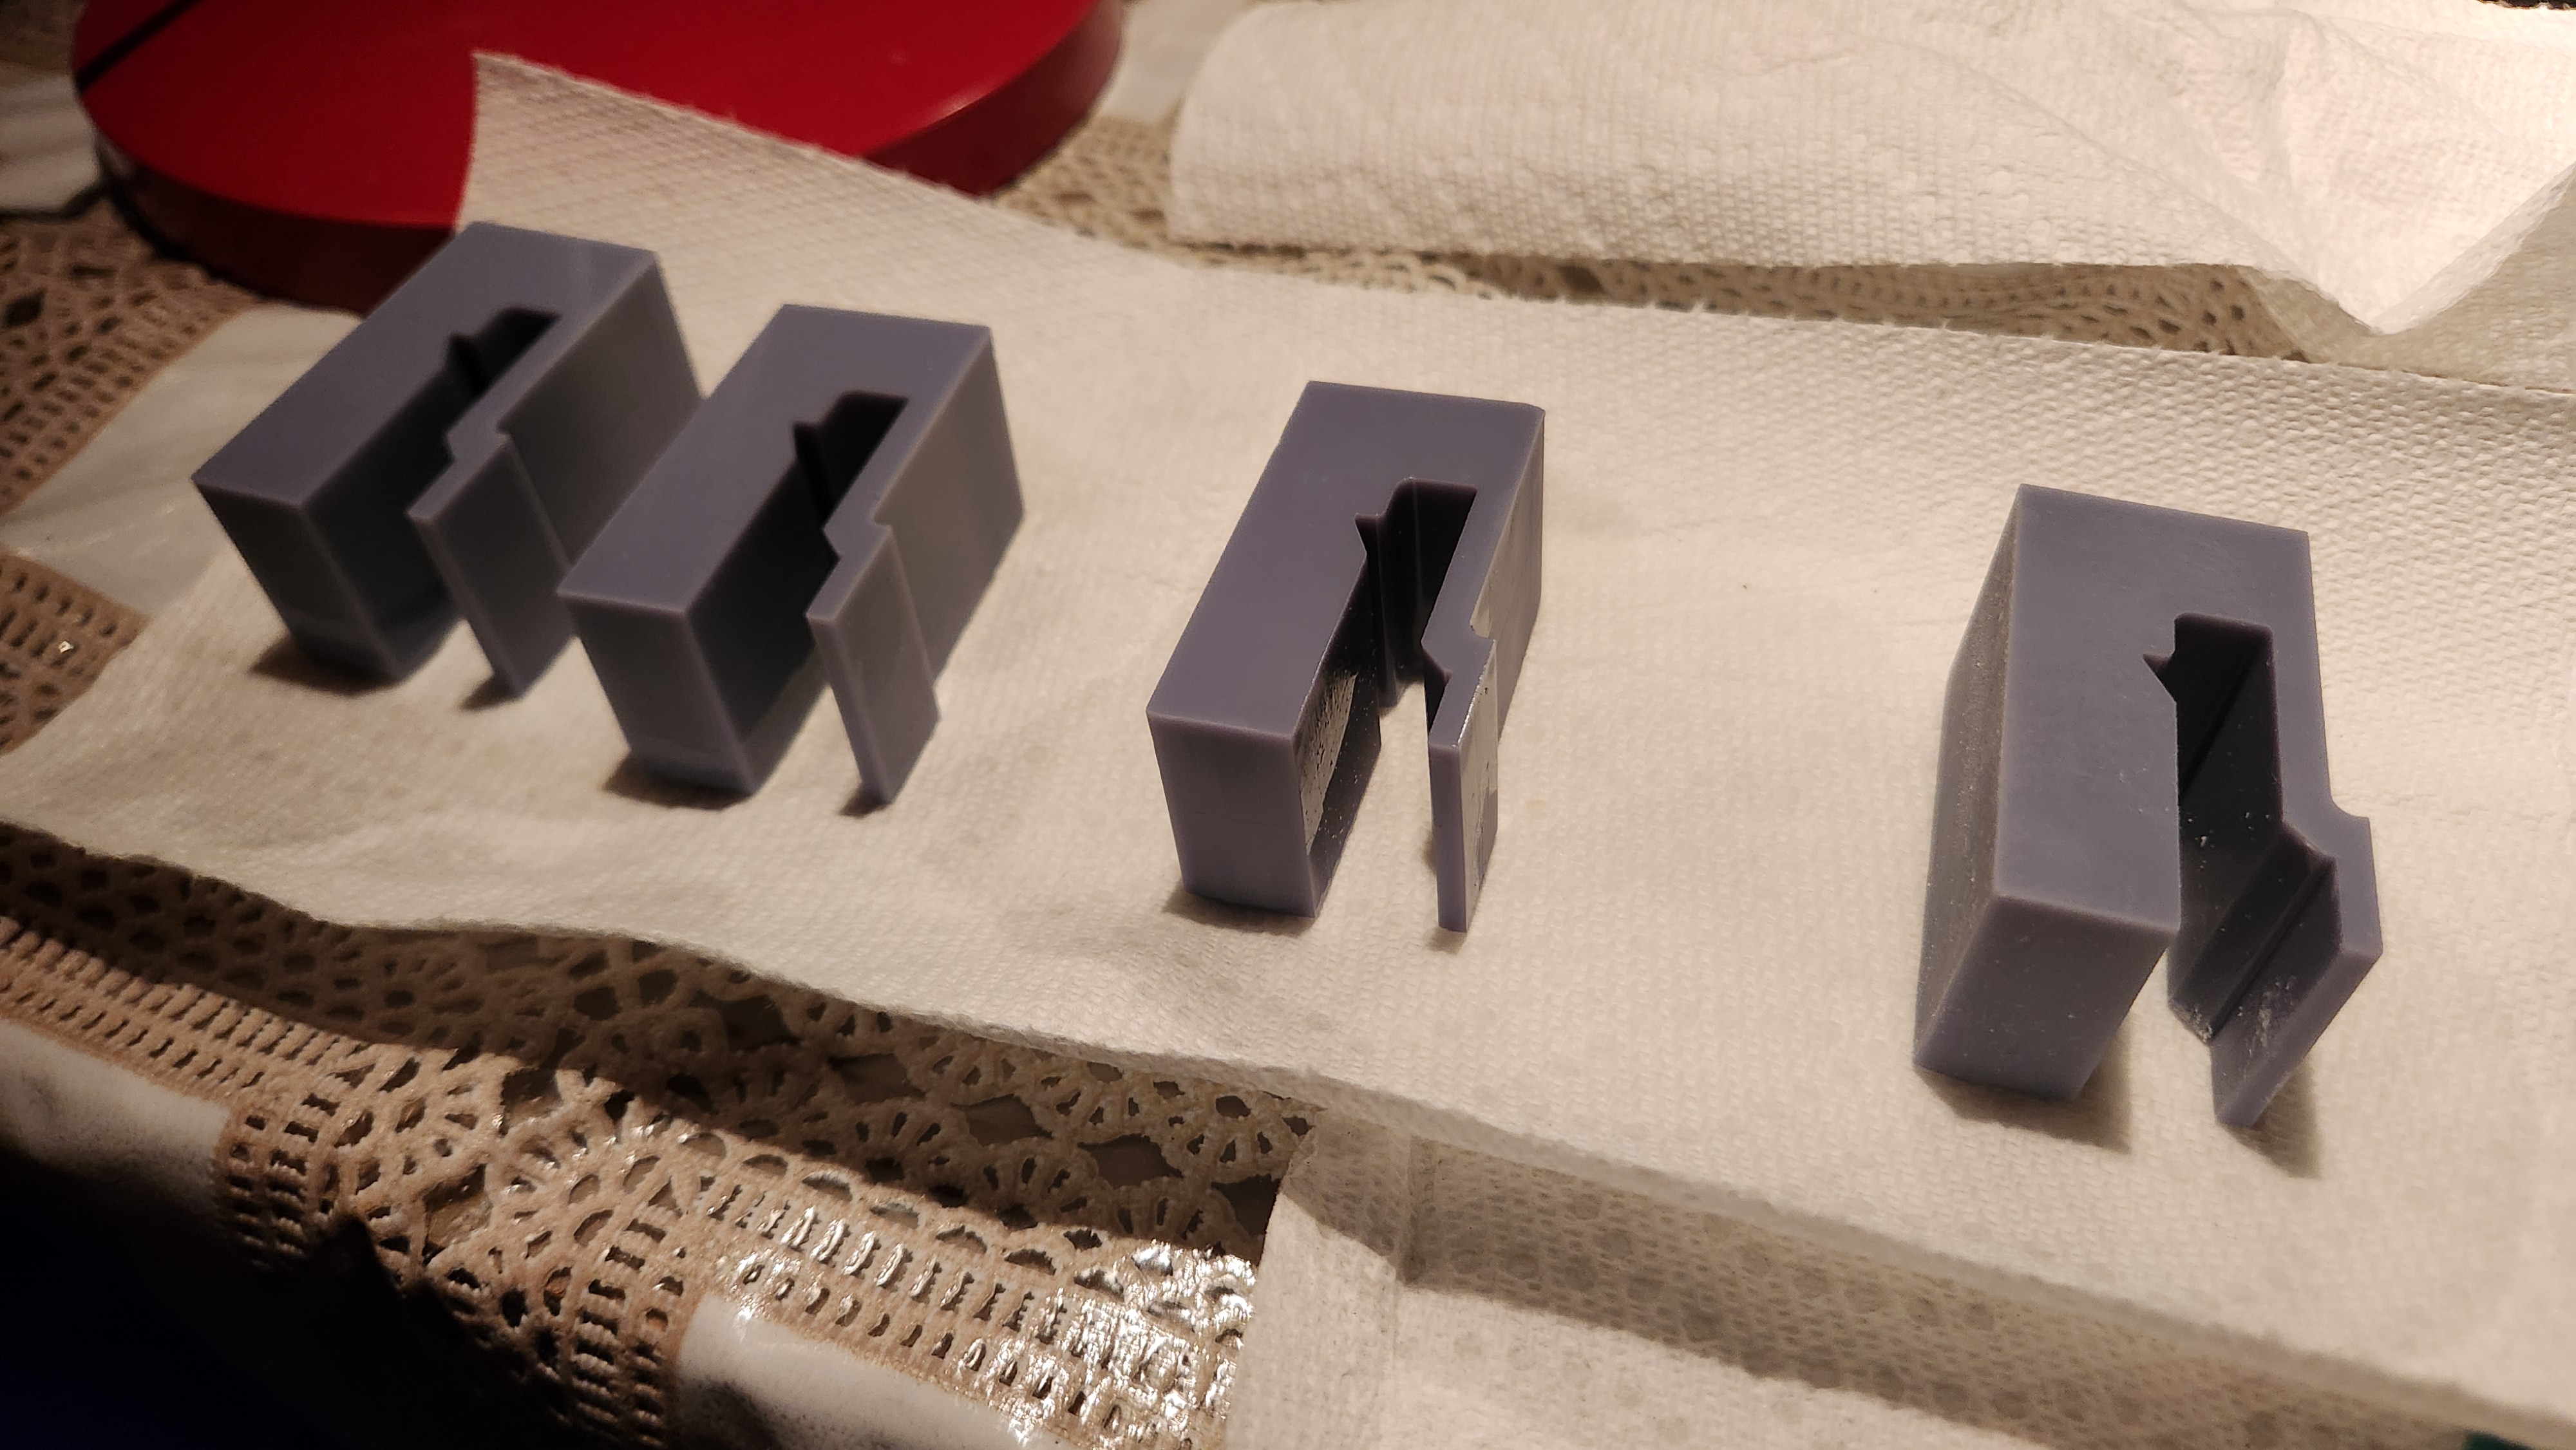
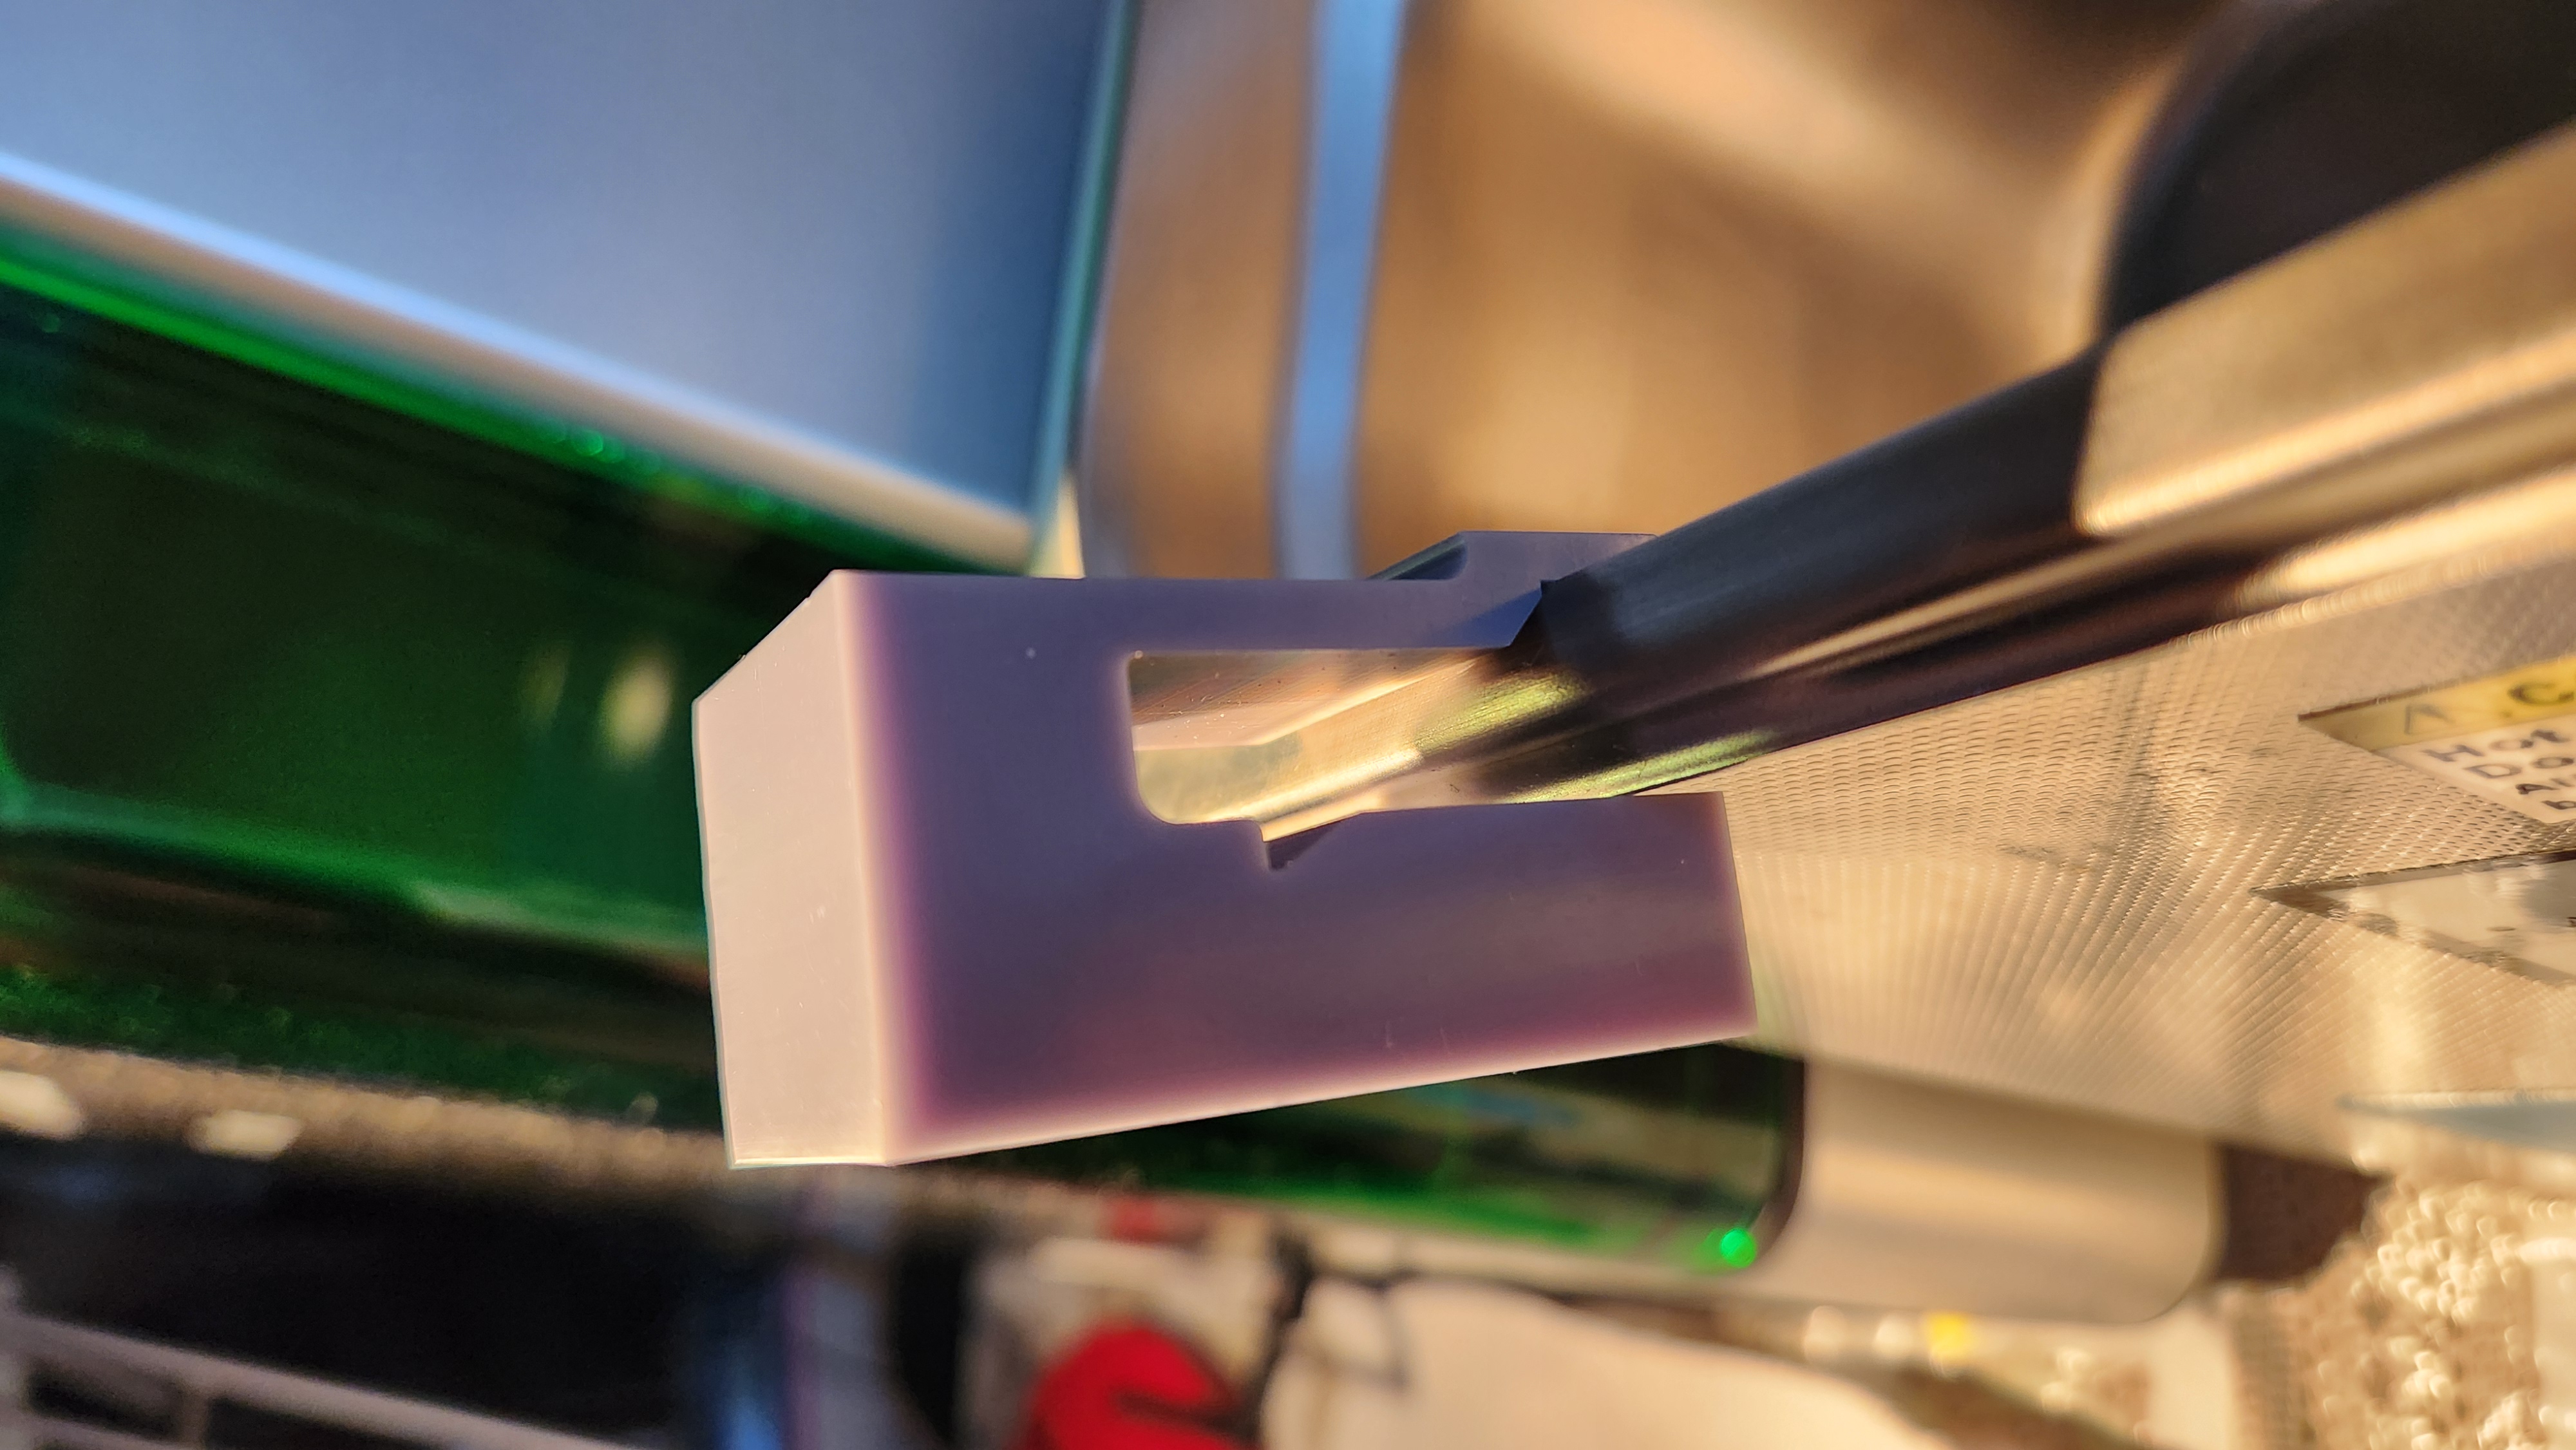


The first version was much thicker than it needed to be and it would not clip onto the ultrasonic cleaner. I thought the material would be a bit more flexible after it was printed and cured but in the end, the design was bad and needed to be improved. I also realized that if I forced the clip on the cleaner and it manages to get on without breaking, I would have a very difficult time removing it if needed.
So I designed a second version. This version was about half as thick in all directions. I also shortened the outside leg so that the clip could actually be mounted onto the cleaner. You can see a comparison of the two in the third image below.
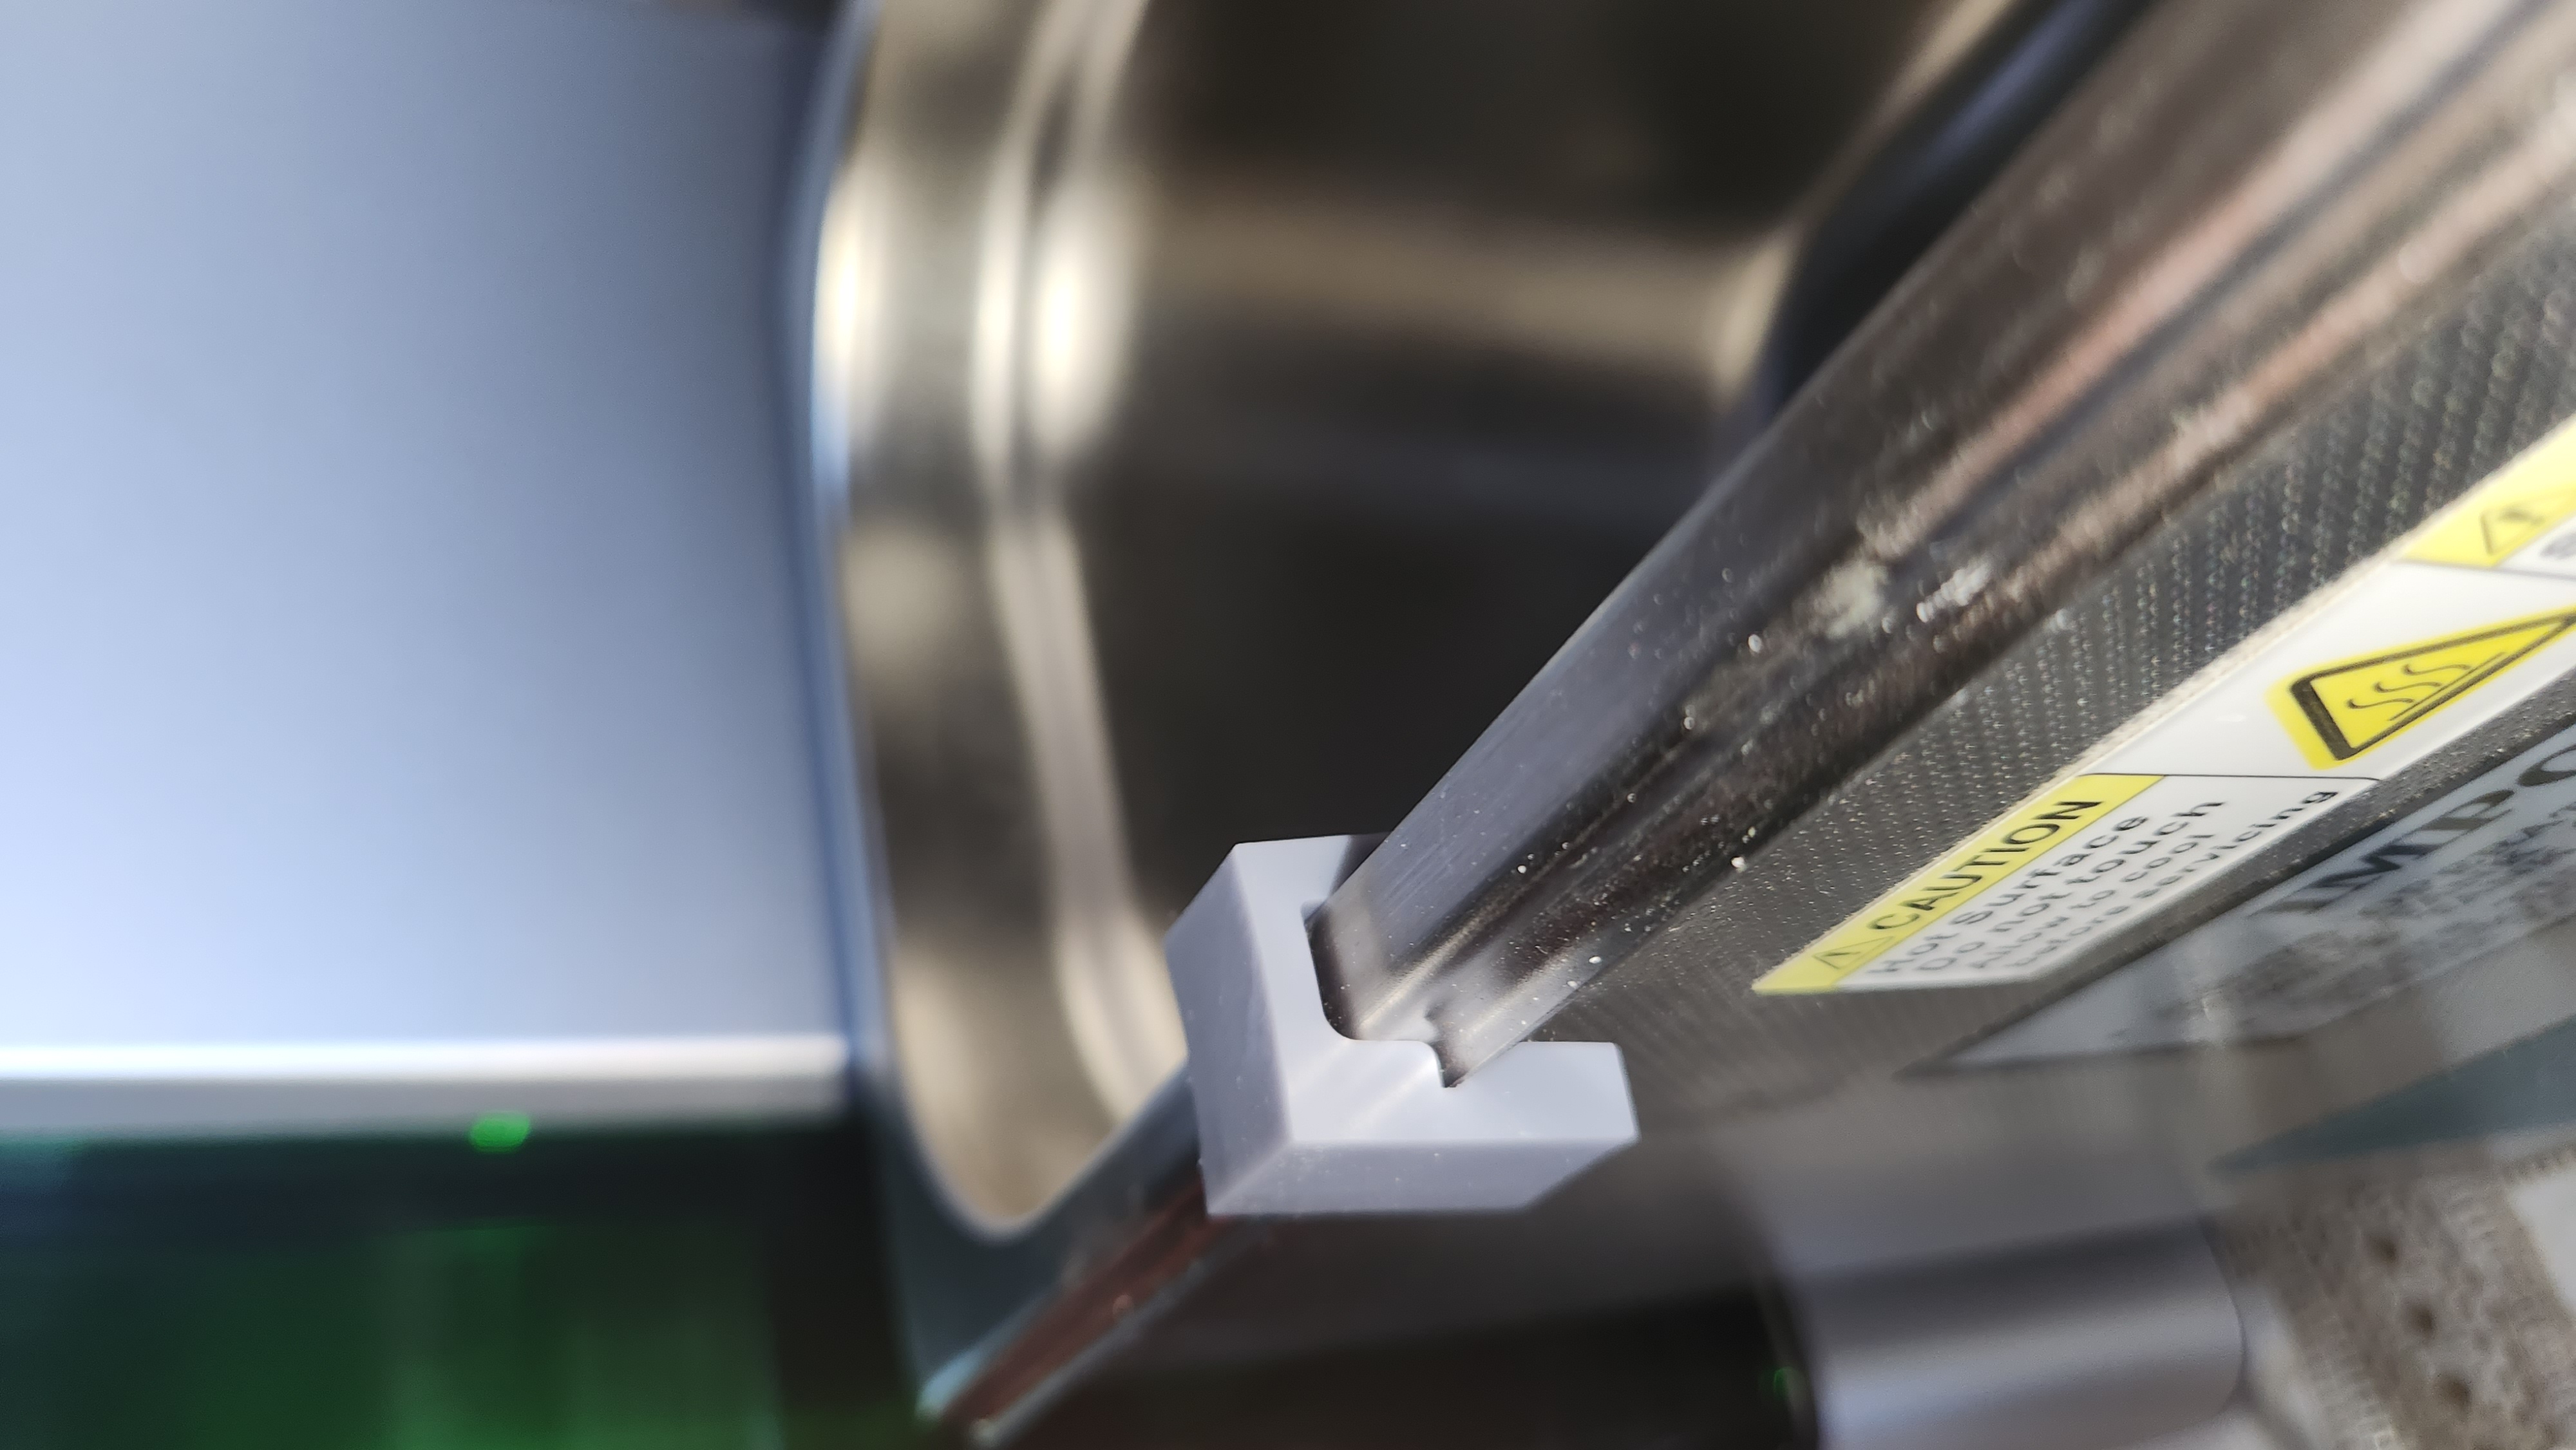
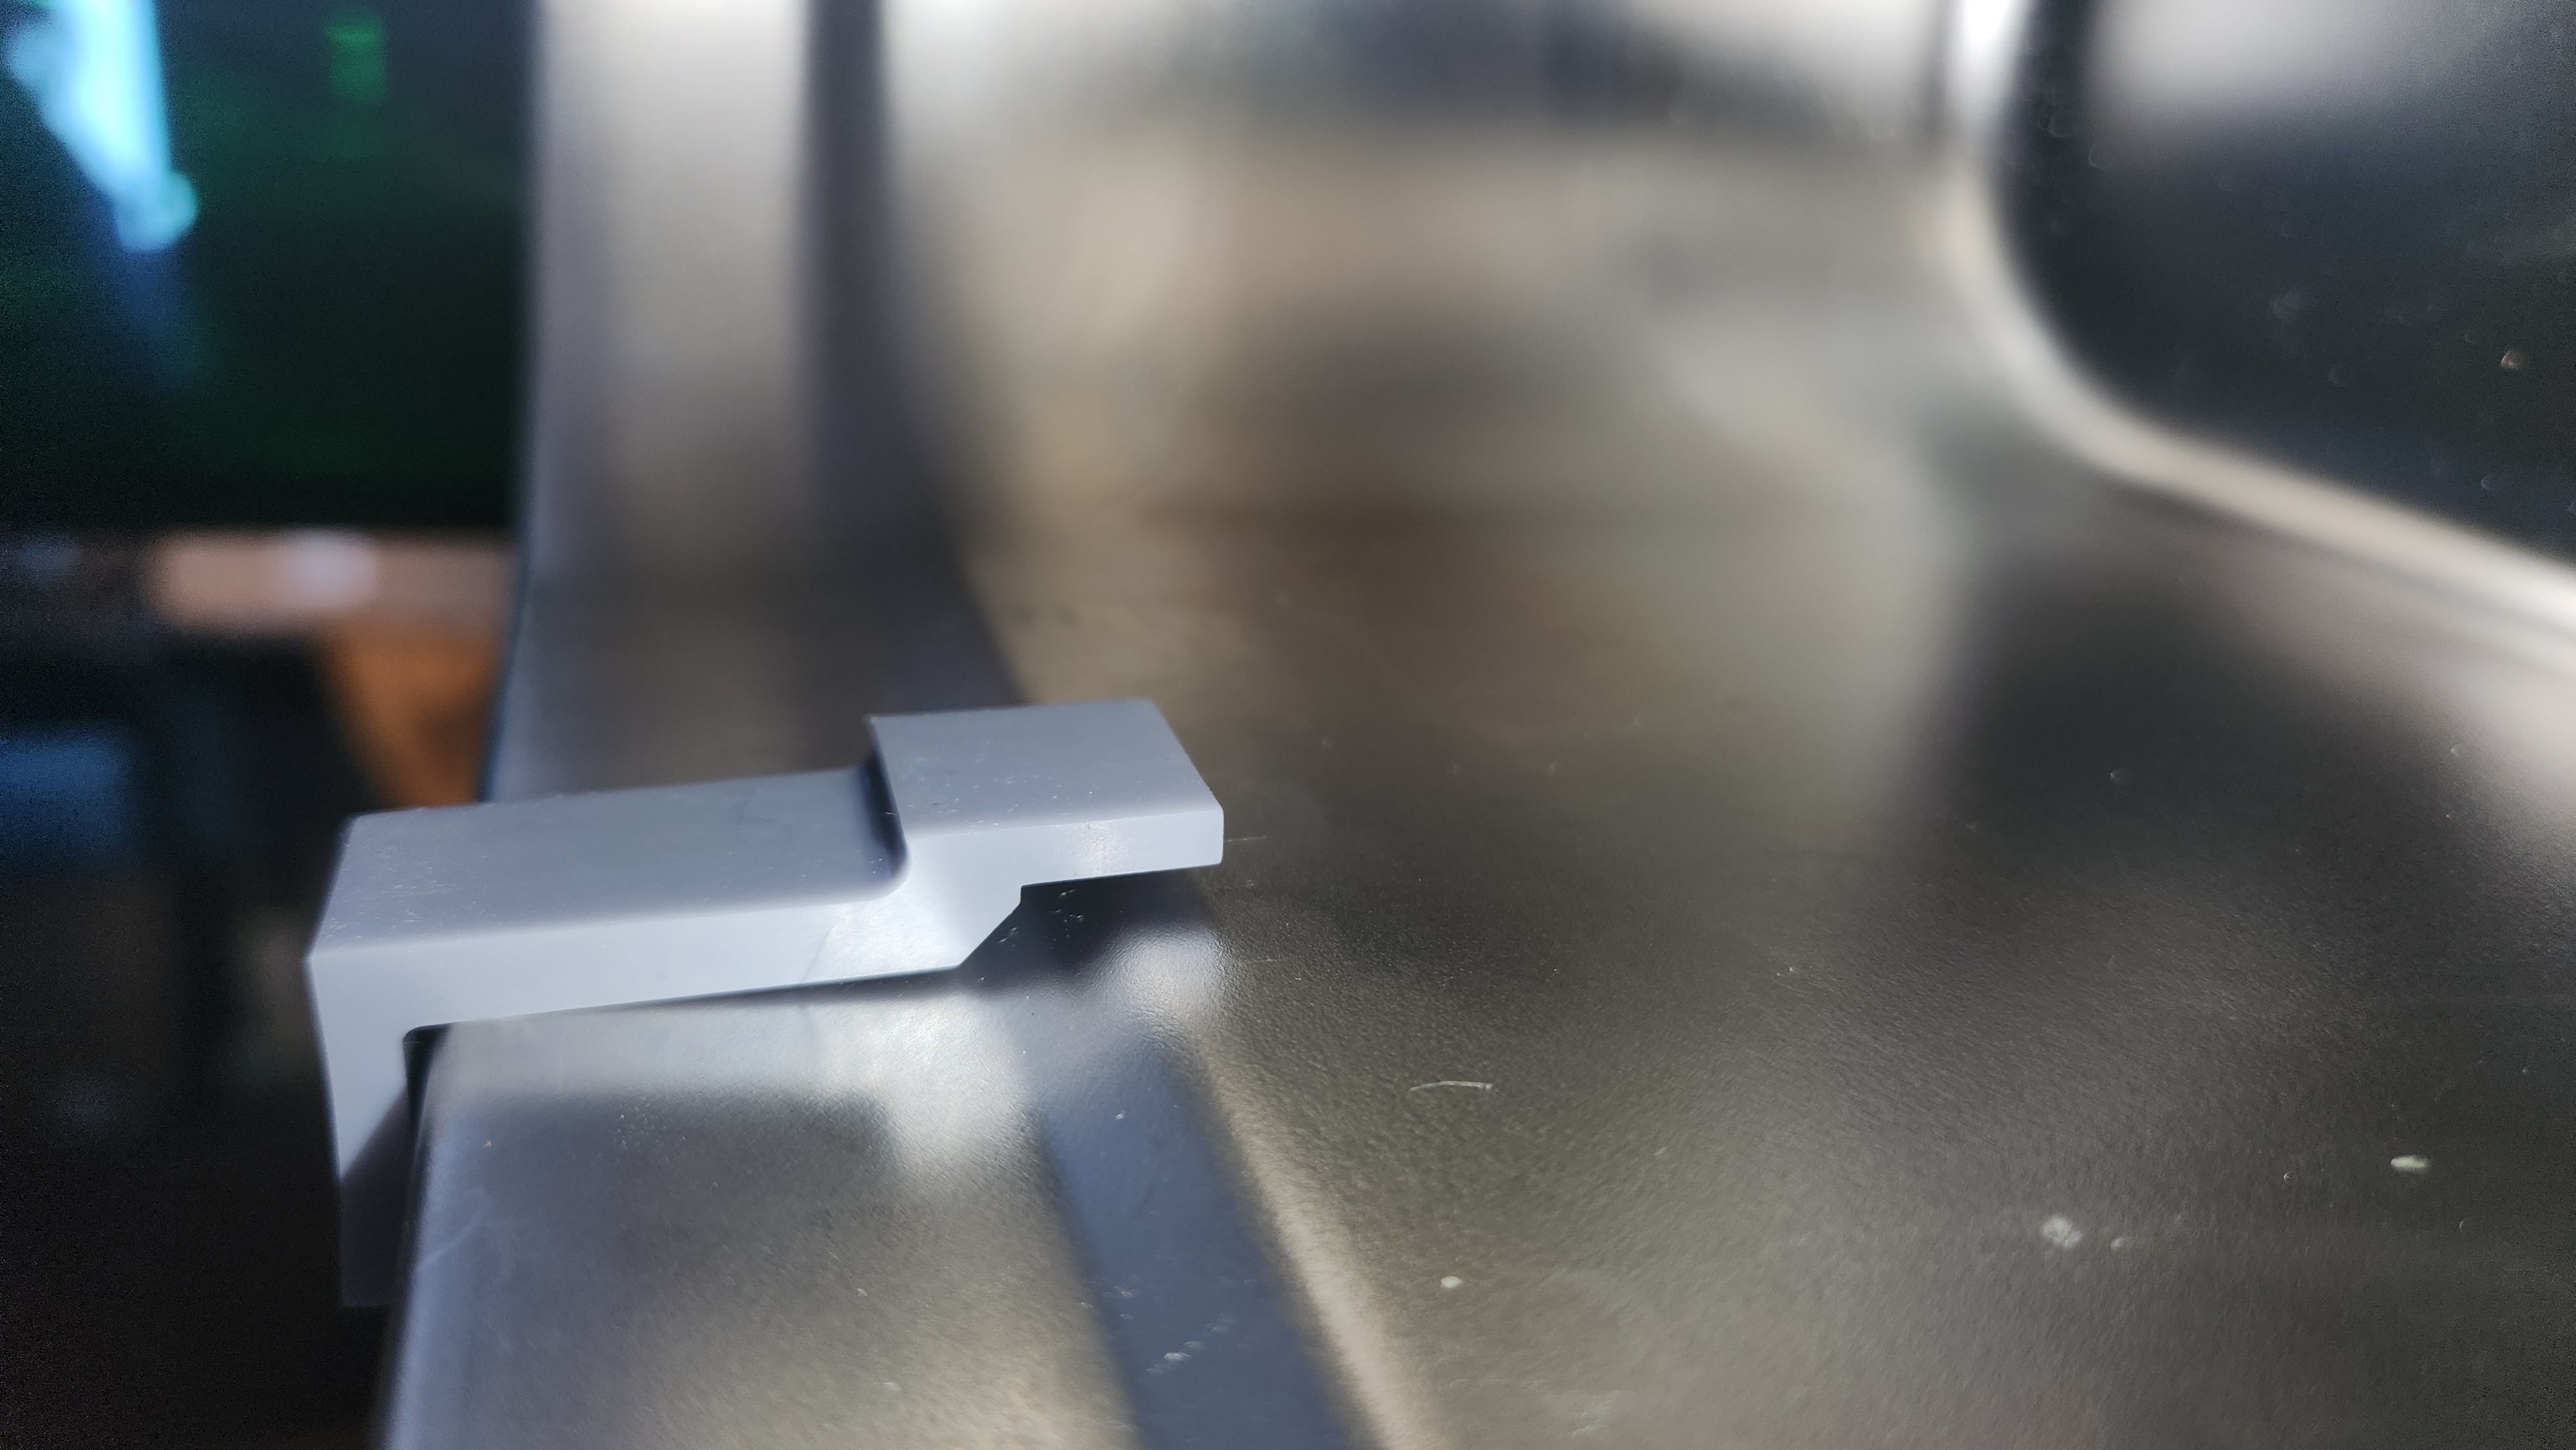


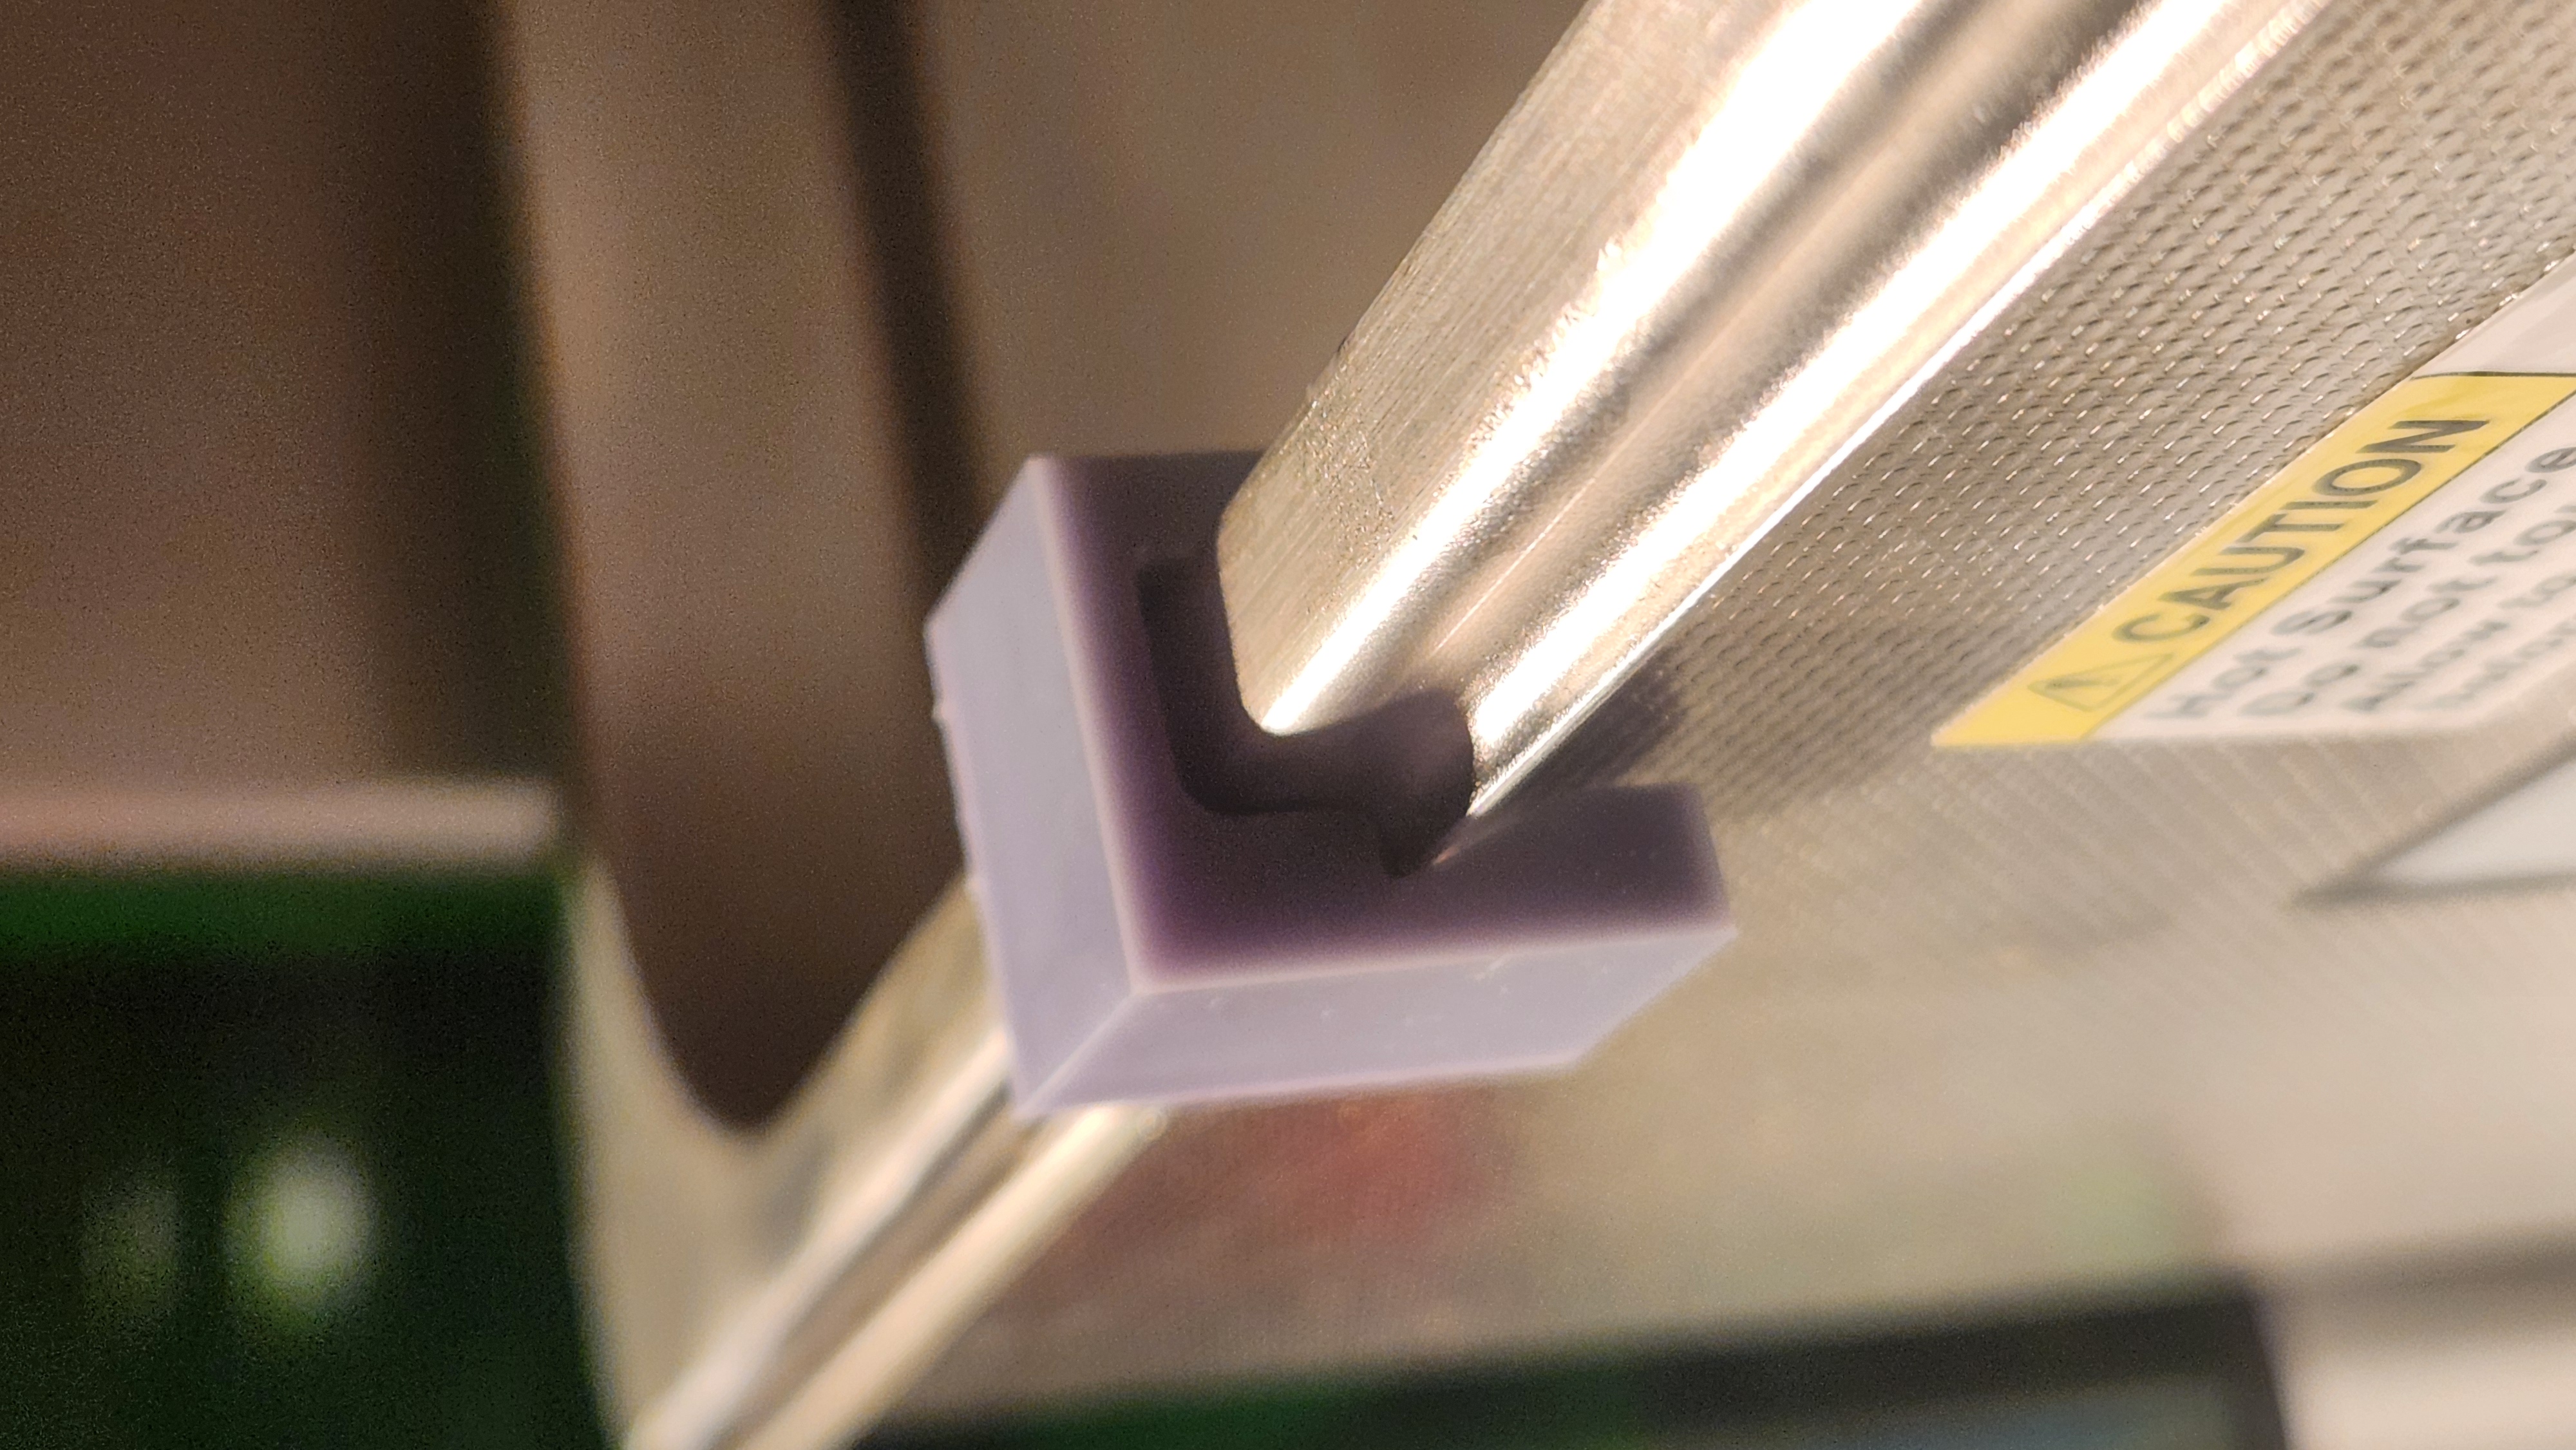
The second version, however, did not sit very nicely on the cleaner. I decided to model a third version that had a wider bridge between the two sides. You can see the third version below.
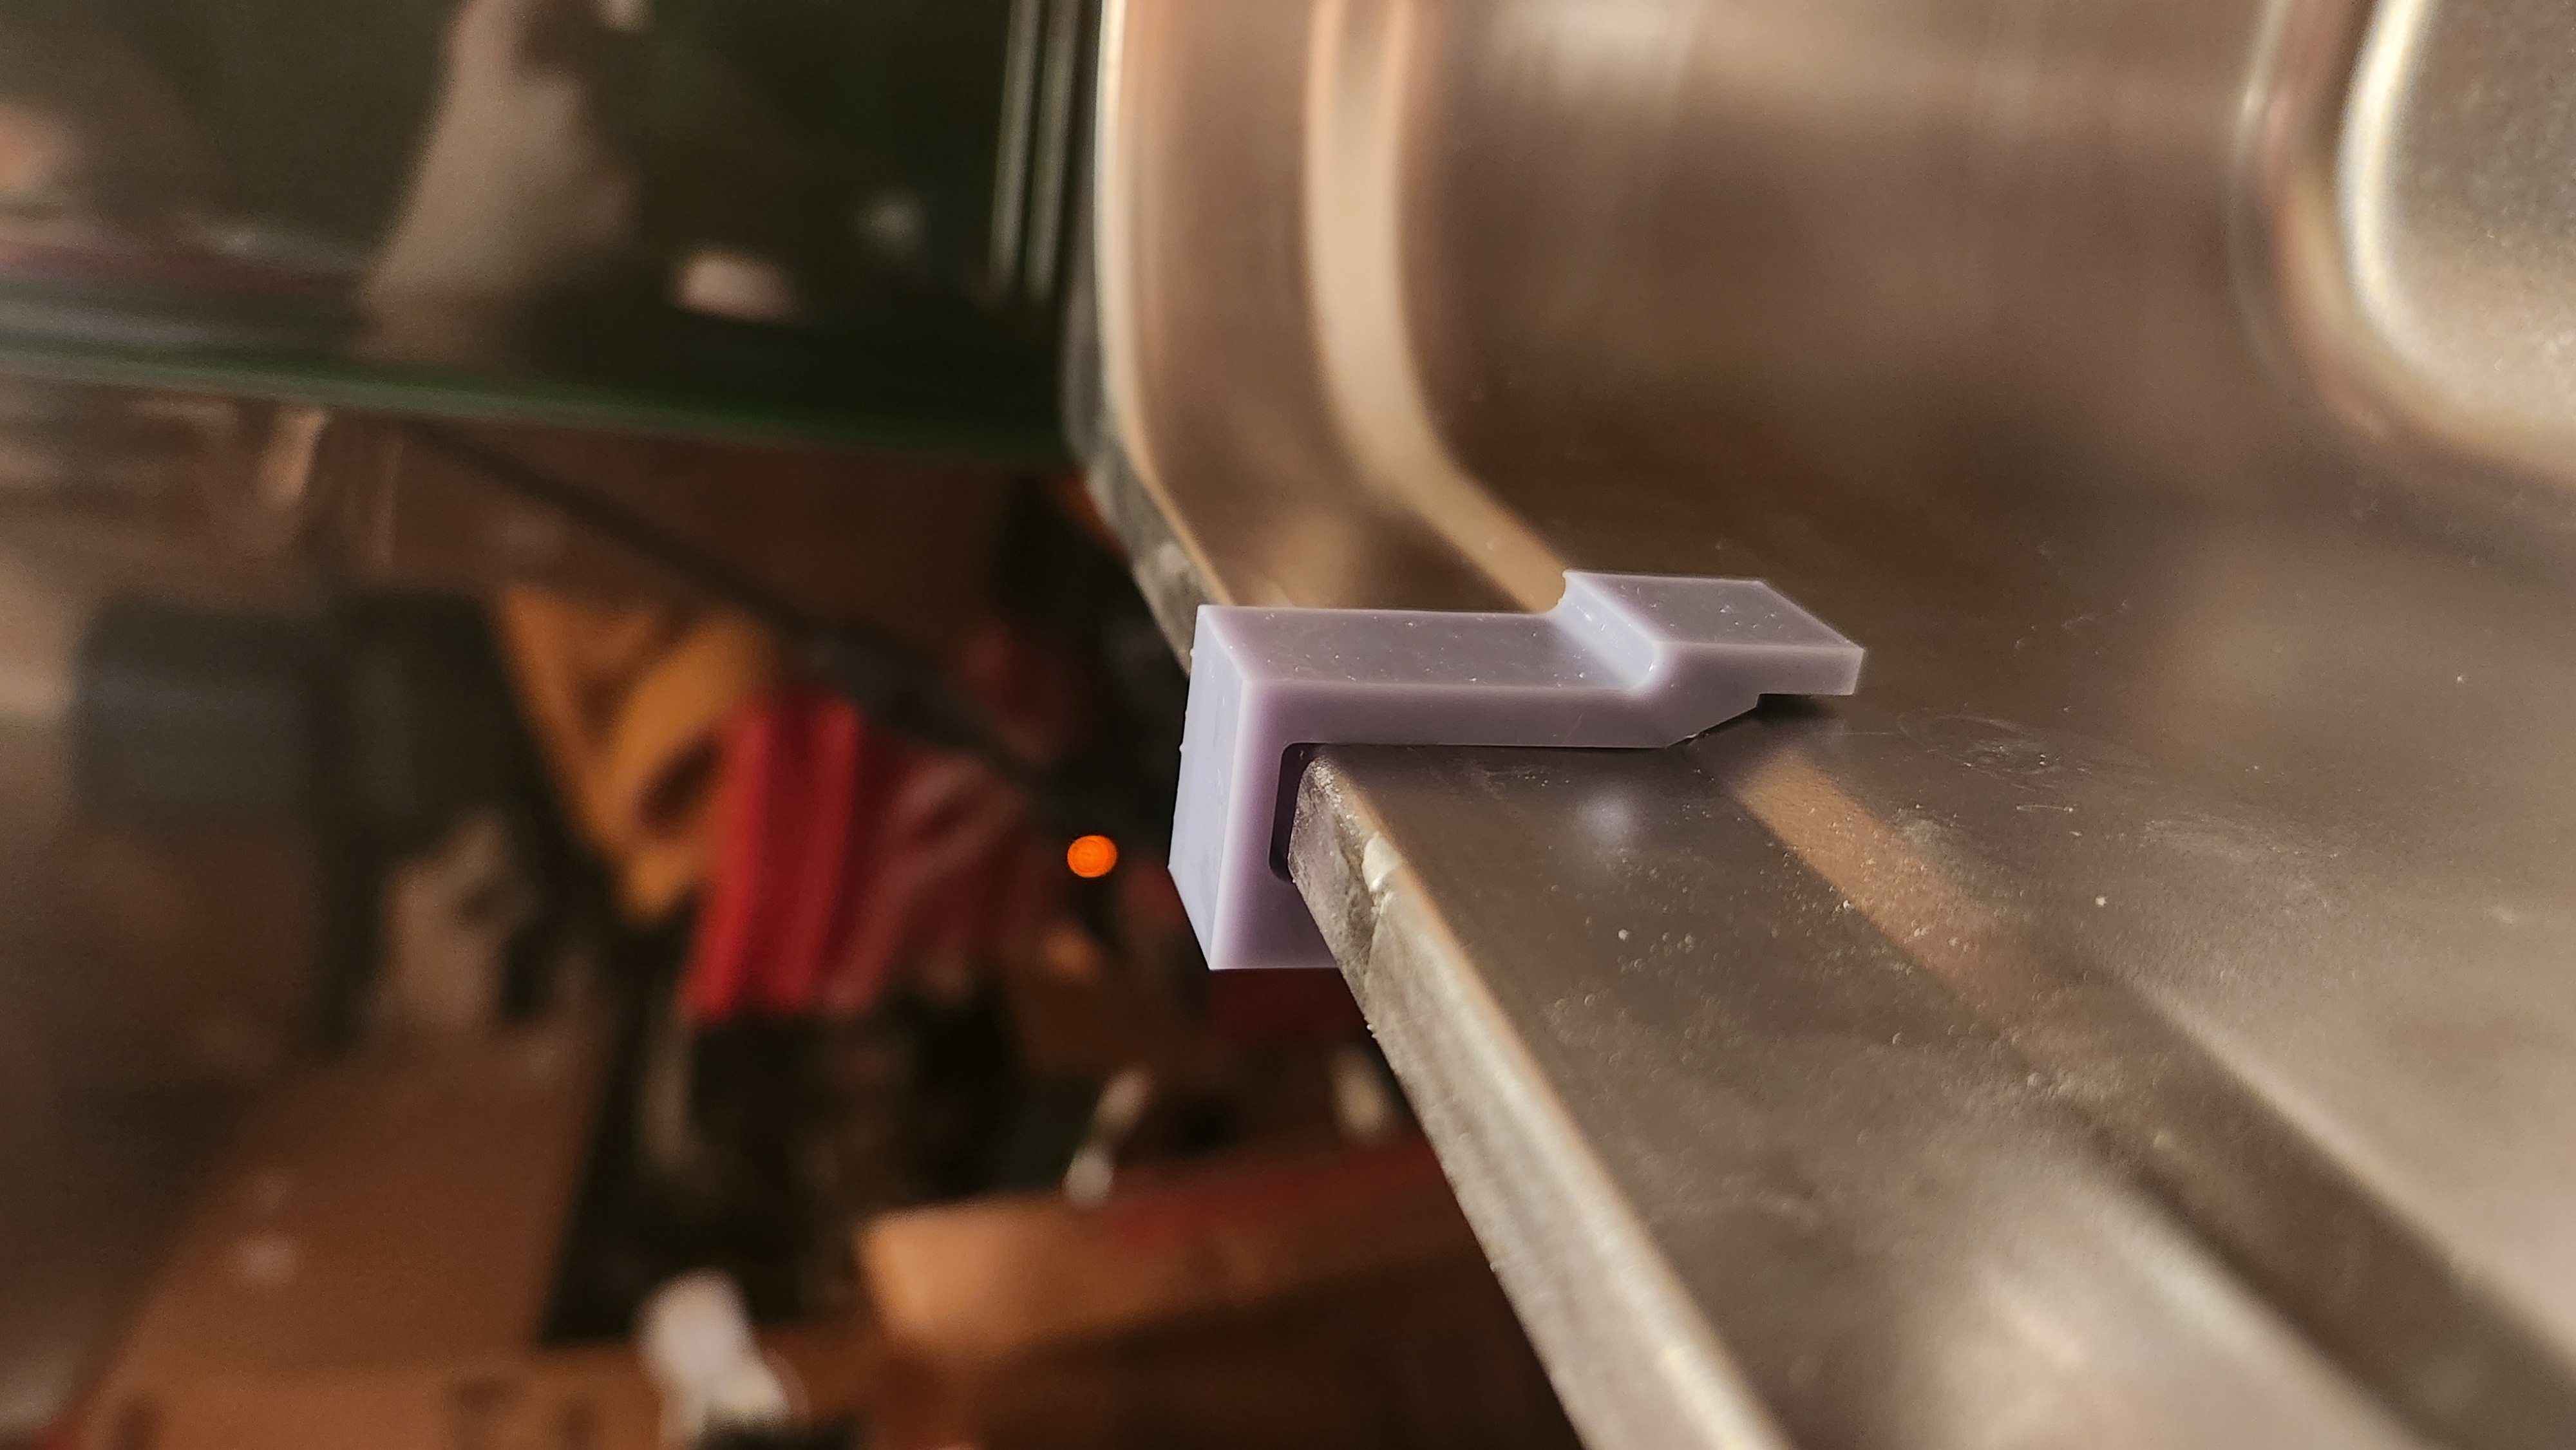


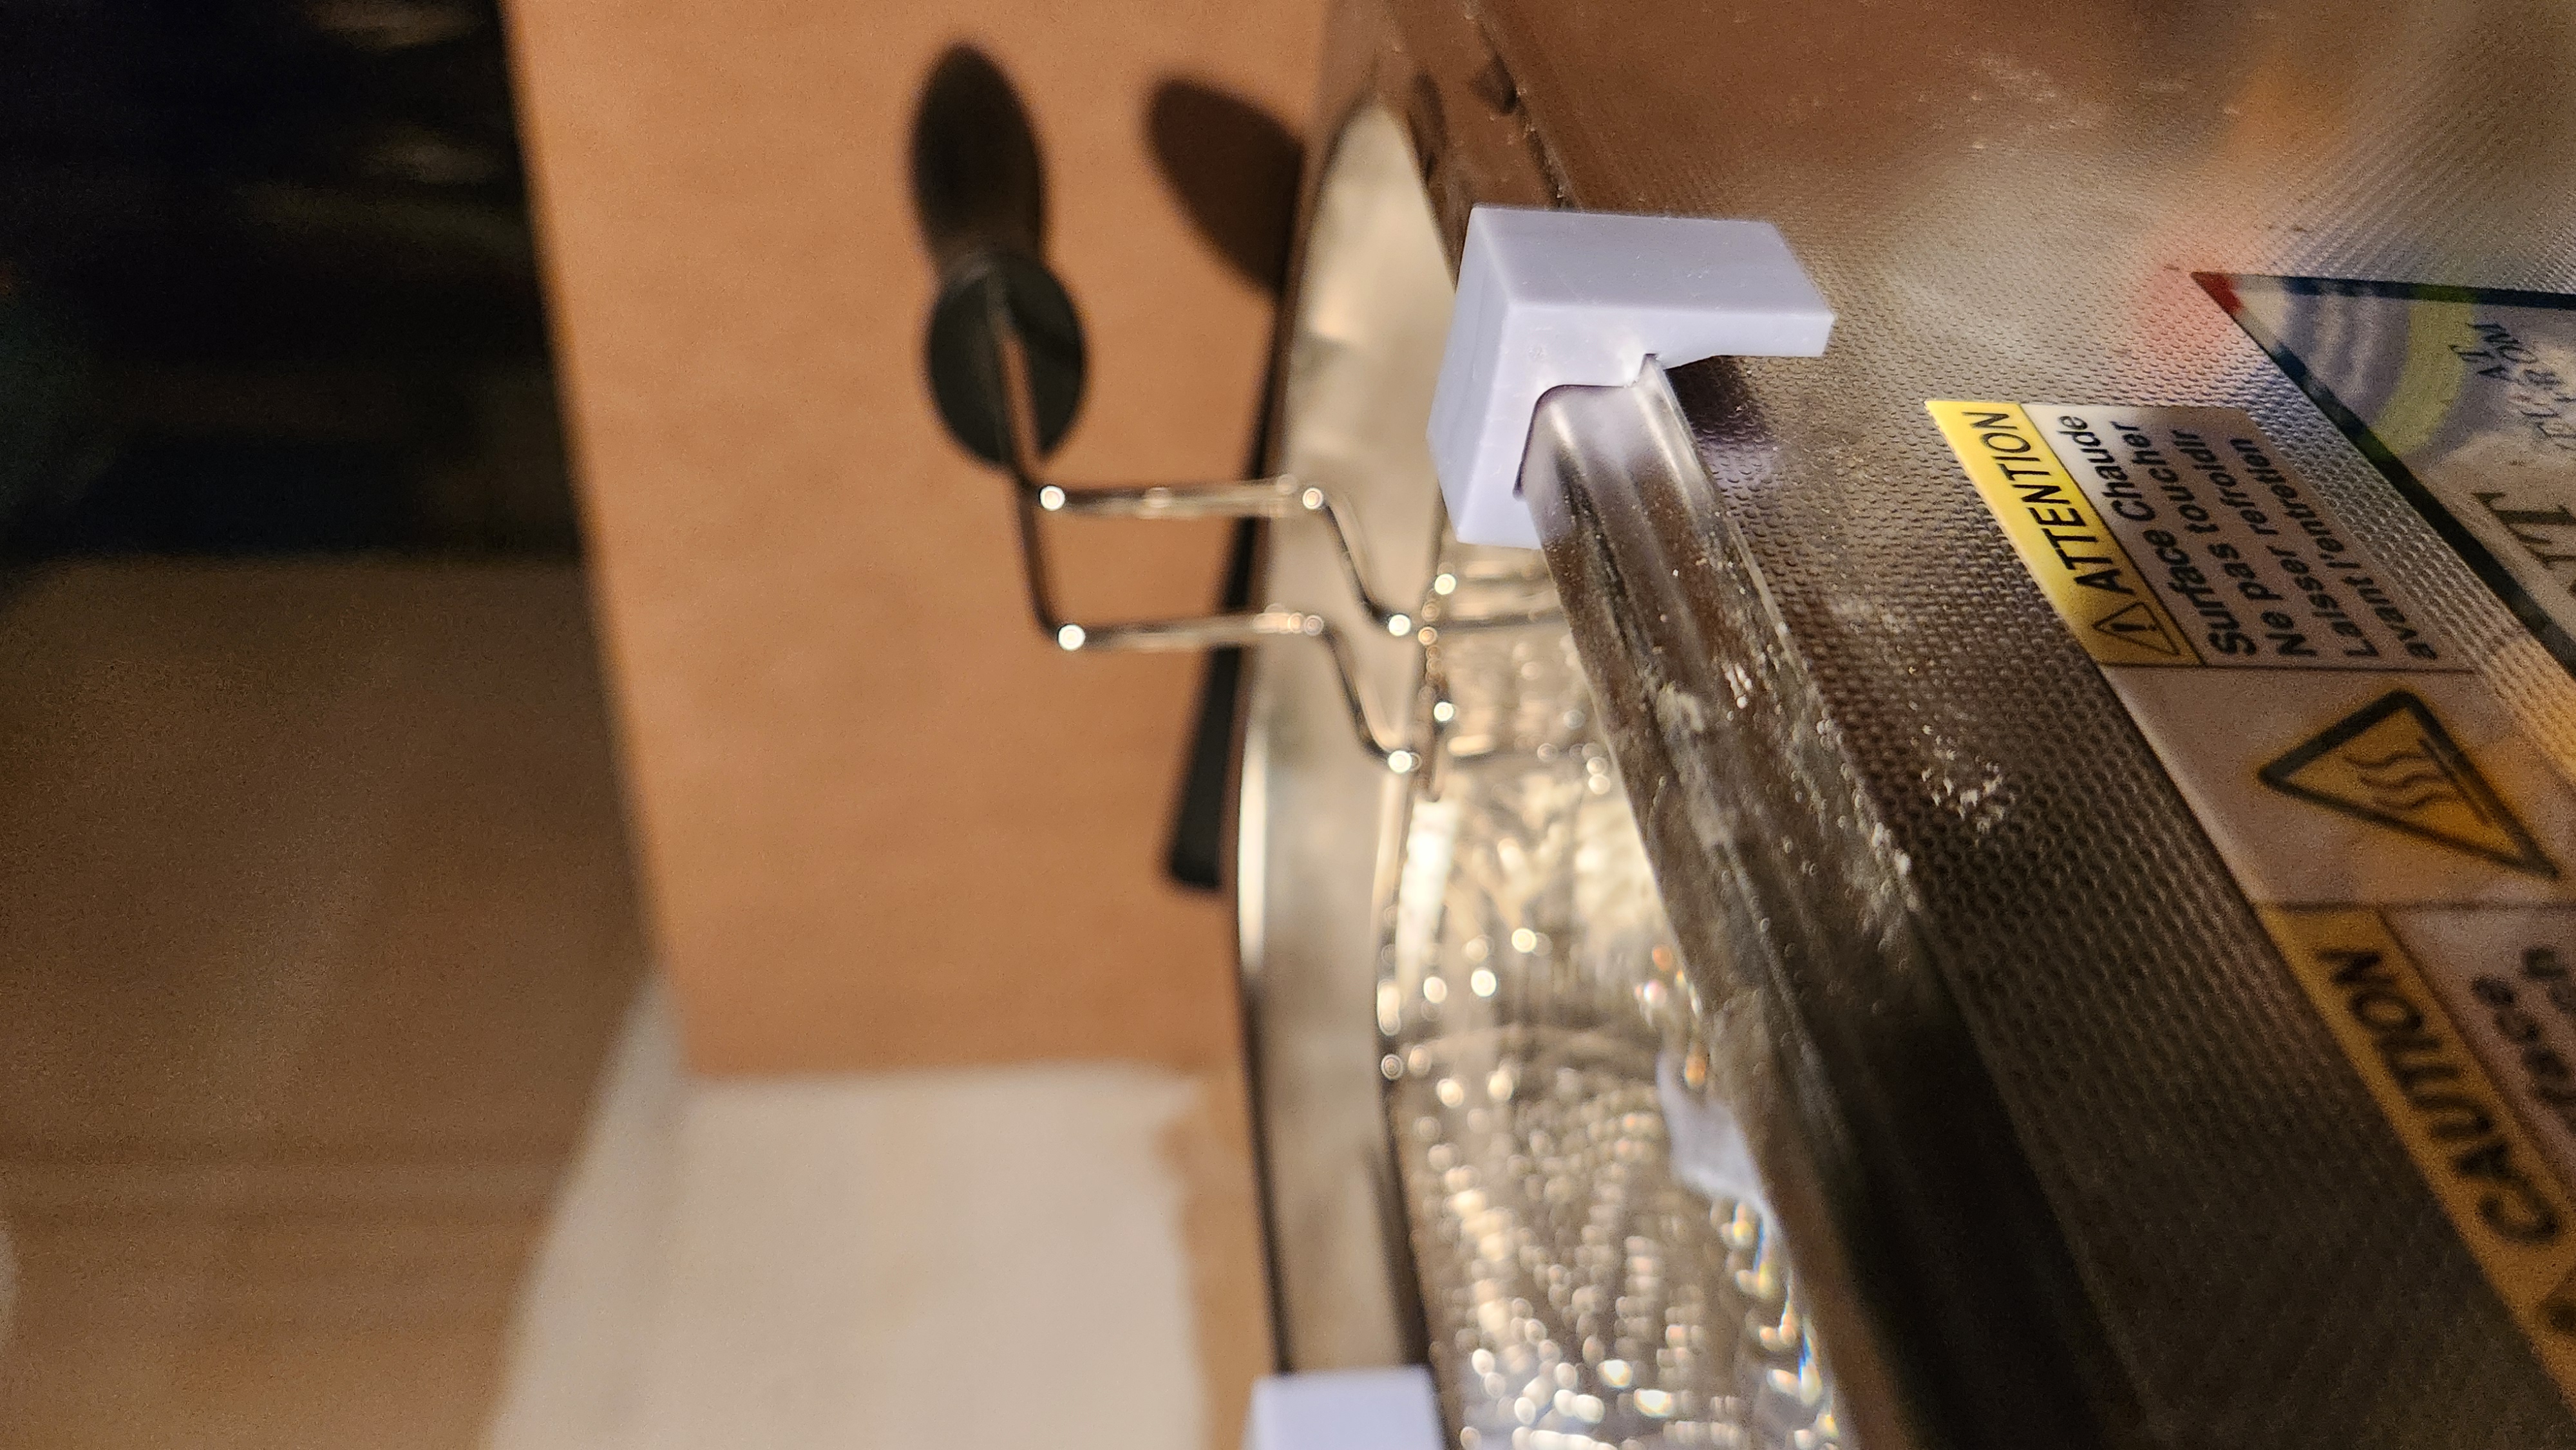
Then I was worried about the amount of support the clip had from the outside. I decided to add a little notch for the outward extending lip to sit in. This would make the clip actually “clip” into position. I printed and tested out version four. I was quite happy but when I removed it I saw there was a lot of scraping on the outside of the clip.
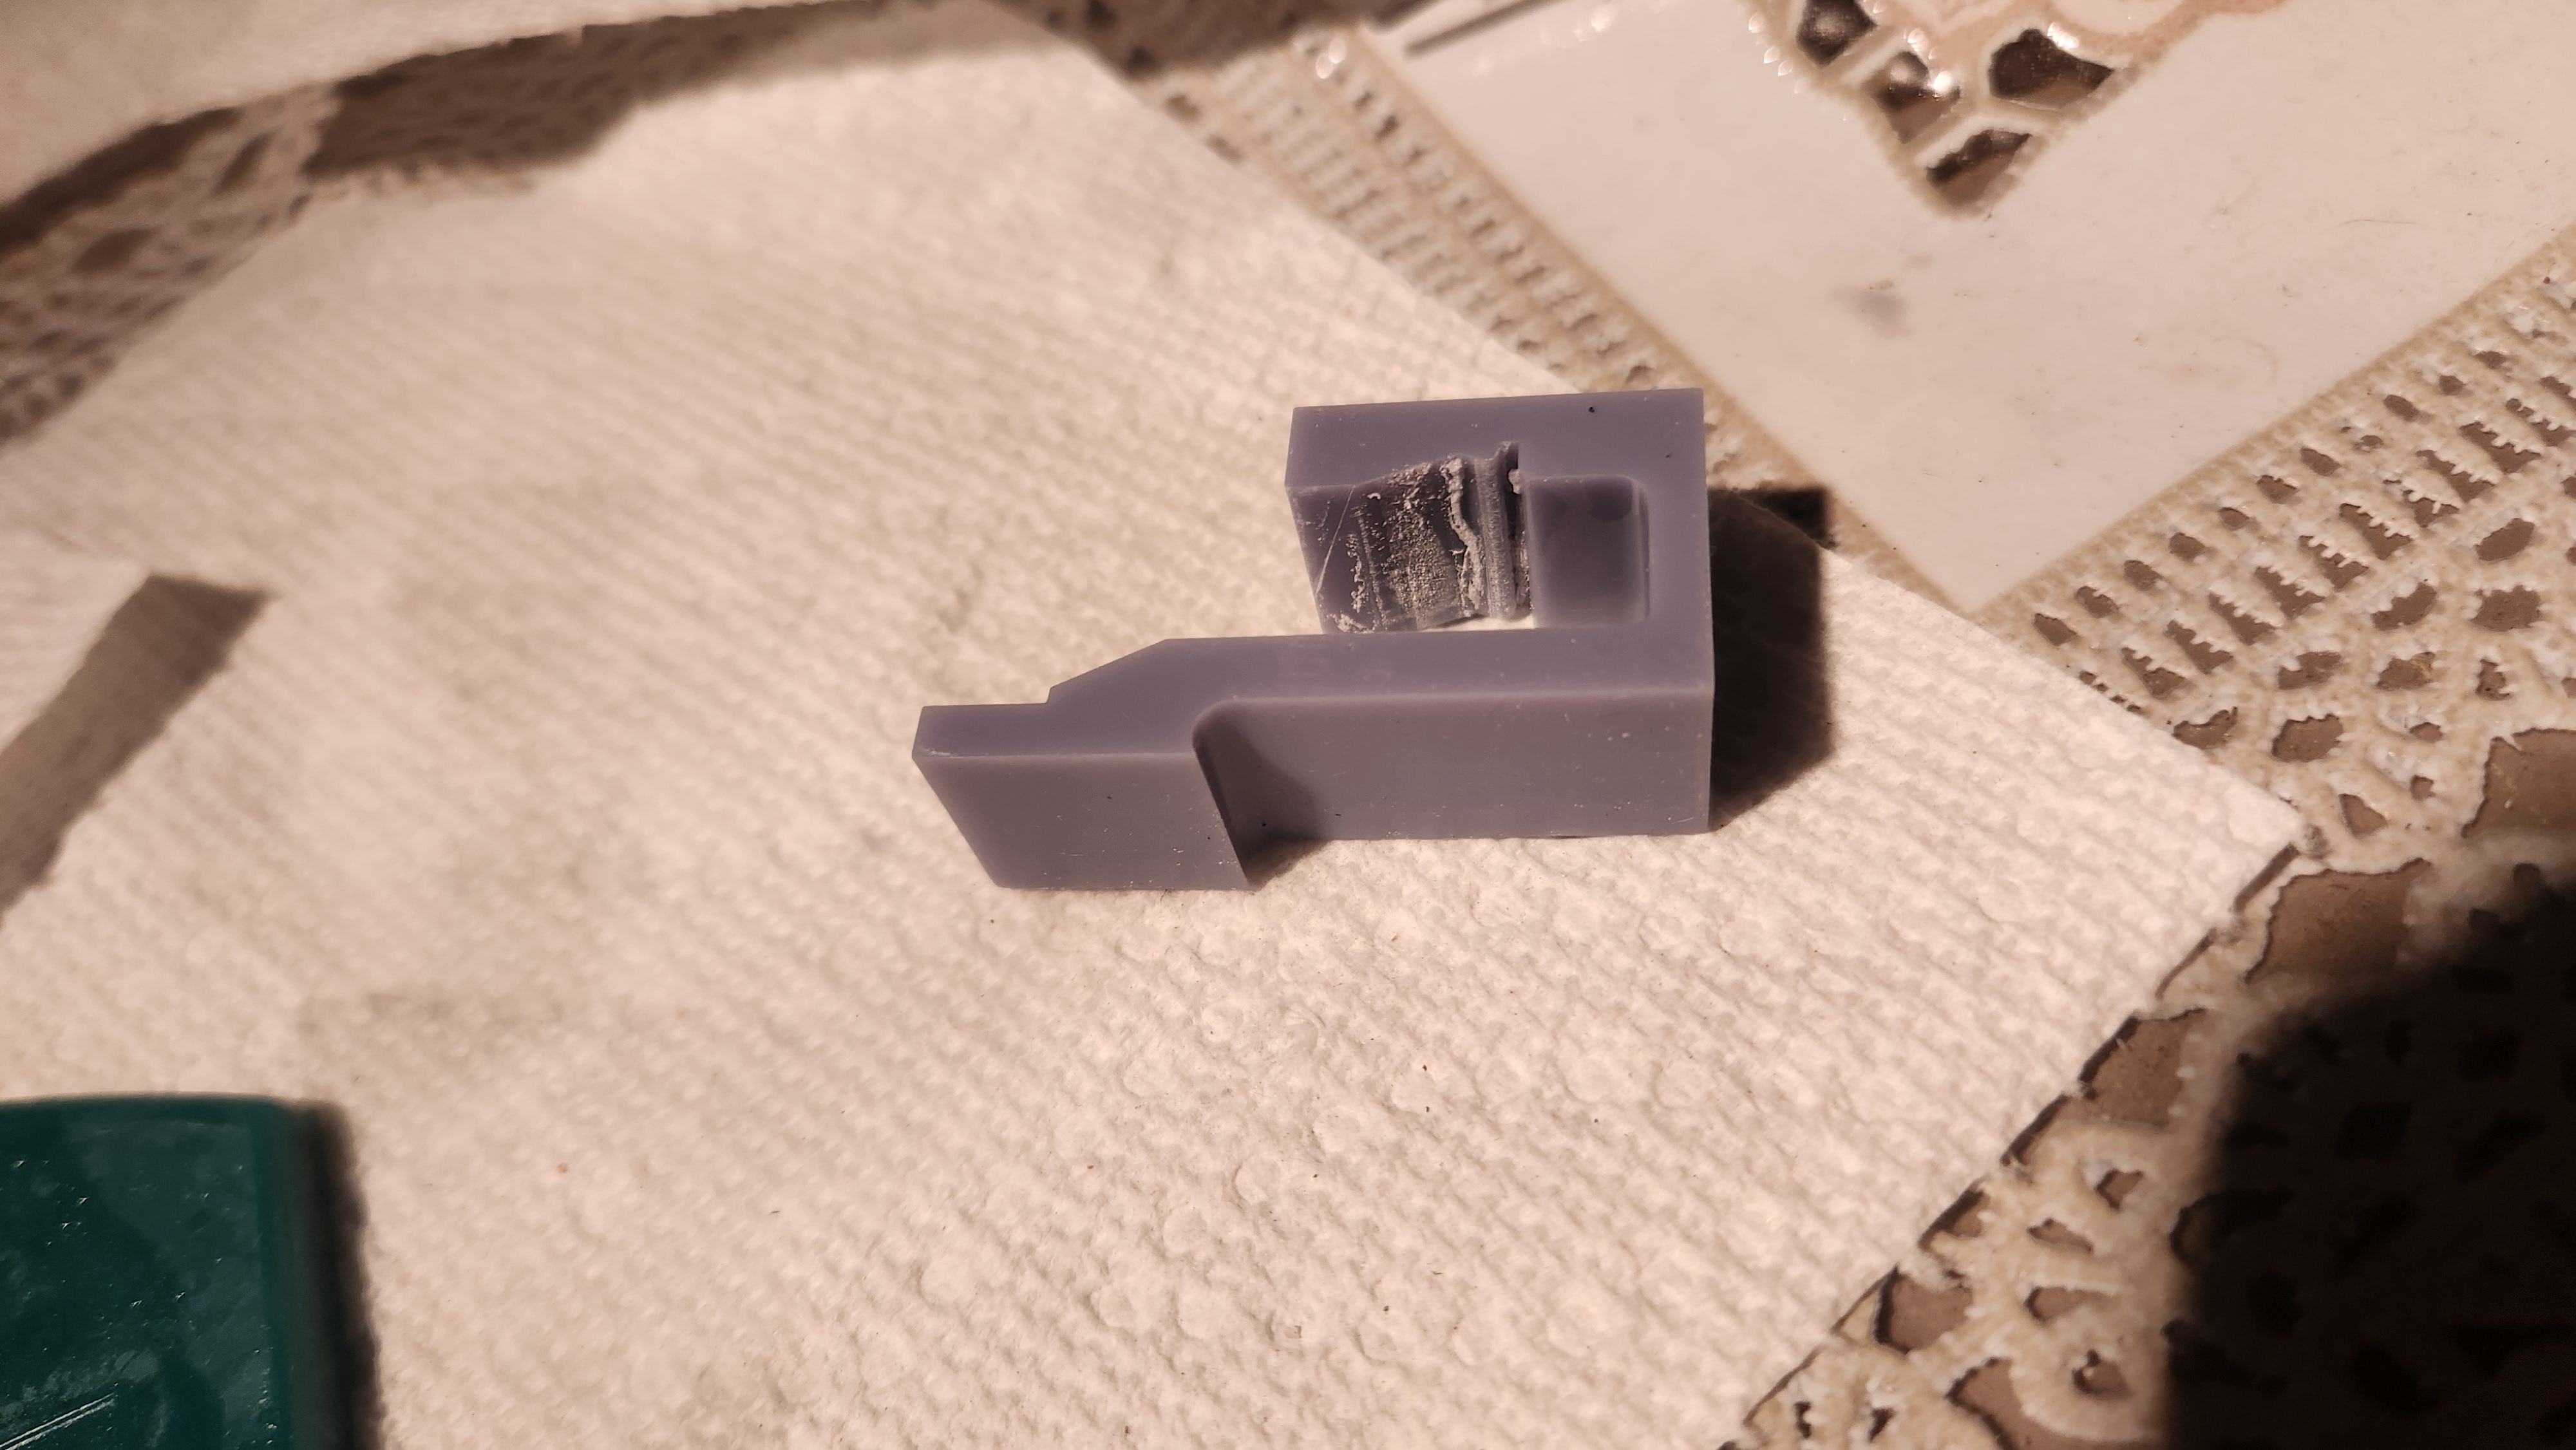
This scraping led me to decide on fully removing the angled wall and just have the clip go straight down. That latch is useful to add tension to the clip so I can remove it from it’s notch. I also realized that I had a lot of versions of the clip and had no way of tracking which version was which. So I added a version imprint into the fifth version. I did this by creating the text in the draft workbench, moving the created text into the body and then adding a pocket using the text as a shape.
Going forward, I will add version numbers for all my mechanical printed parts so I don’t get confused. I think this is an excellent practice. At my previous workplace we had part numbers imprinted into the parts and the part numbers would change depending on version. I think having both would make sense but I probably don’t need to include part numbers until I have at least over 50 parts.


Take-away lessons:
- Always print a sample first
- Realize that it will take multiple revisions to reach a suitable product
- Always version your products so you don’t get confused
- Add part numbers to your products if you have a lot of different parts you manufacture